

Beginners guide to Tesla chrome delete repair: Learn frame straightening, damage evaluation, and paintless dent repair techniques for enhancing vehicle integrity. Gather tools and high-quality chrome delete products. Emphasize safety with proper protective gear and suitable chemical solutions. Clean surfaces, apply chrome remover, and consider professional help for optimal results, achieving aesthetic transformation and long-lasting effects.
Looking to refresh your Tesla’s look? Mastering a Tesla chrome delete can transform its aesthetic. This comprehensive guide is tailored for beginners, walking you through the entire process step-by-step. From understanding the chrome delete concept to gathering the necessary tools and materials, we’ve got you covered. By the end, you’ll have the skills to safely and effectively enhance your Tesla’s design. Get ready to dive into this rewarding DIY project with our detailed Tesla chrome delete repair guide.
- Understanding Tesla Chrome Delete Process
- Gathering Tools and Materials
- Step-by-Step Repair Guide for Beginners
Understanding Tesla Chrome Delete Process
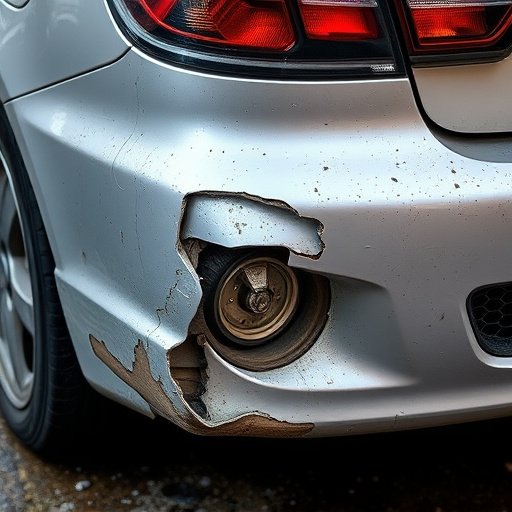
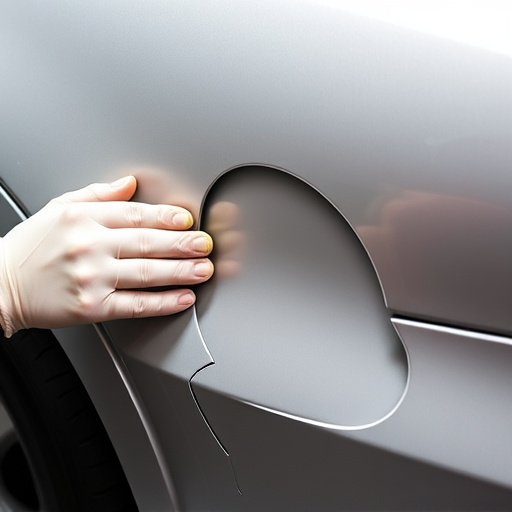
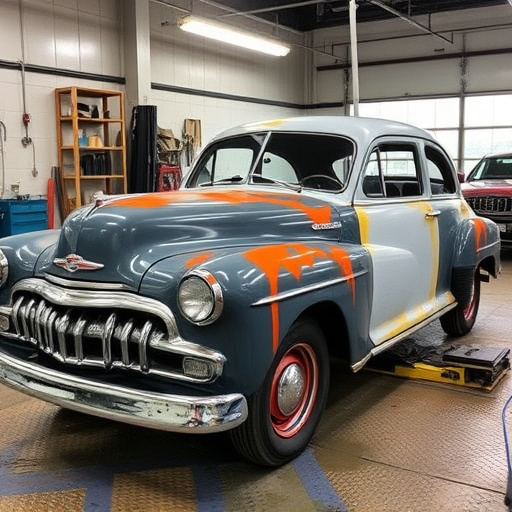
The Tesla Chrome Delete process involves removing or replacing damaged or unsightly chrome accents on Tesla vehicles. This DIY guide is tailored for beginners, aiming to simplify a seemingly complex auto body task. It’s not just about aesthetics; proper execution can enhance structural integrity, especially with precise frame straightening techniques. By learning this skill, car owners can save costs on costly auto body services and have more control over their vehicle’s customization.
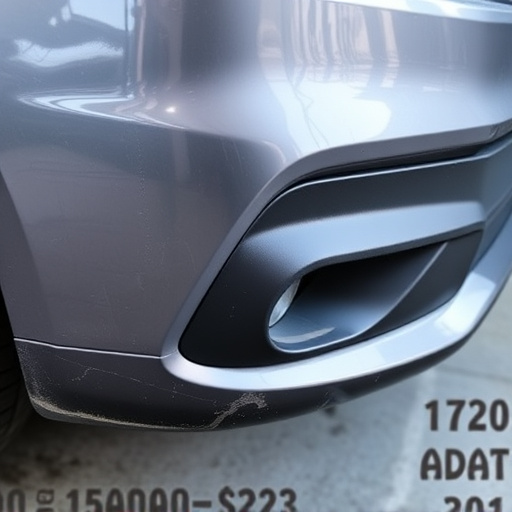
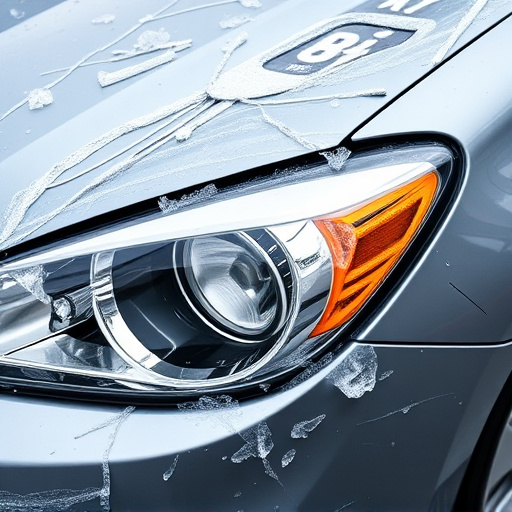
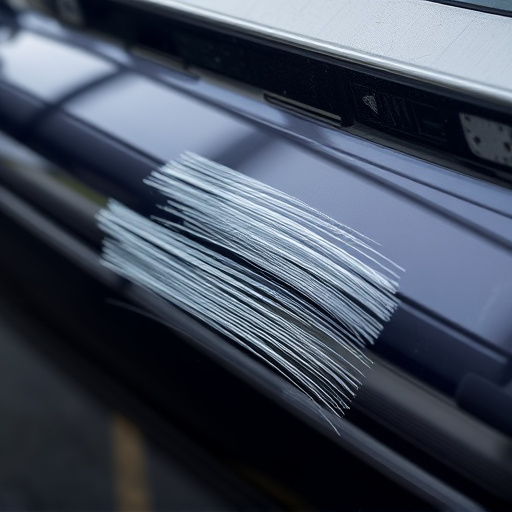
This repair requires a keen eye for detail, as precision is key to achieving a clean finish. The process often starts with evaluating the damage, followed by disassembly of affected components to access the chrome elements. For those unfamiliar, paintless dent repair techniques can be employed to restore the surrounding panel without the need for extensive frame straightening or repainting, ensuring a seamless and cost-effective restoration.
Gathering Tools and Materials
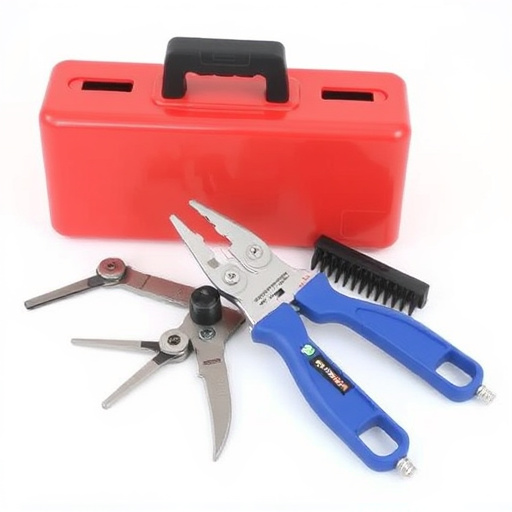
Before tackling any Tesla chrome delete repair, it’s essential to gather the right tools and materials for a successful and safe outcome. For this job, you’ll need some basic automotive tools like socket sets, screwdrivers (both flathead and Phillips), and pliers. Make sure these tools are in good condition to avoid damaging your vehicle during the process.
Additionally, procure high-quality chrome delete products designed specifically for Tesla models. This includes a suitable chrome remover, protective gear like gloves and safety glasses, and a clean cloth or sponge. Remember, proper preparation is key; taking time to source these items will prevent issues later on, ensuring your tire services and hail damage repair efforts are not compromised by using inferior materials. For instance, selecting a product that’s compatible with your vehicle’s bodywork will ensure it doesn’t cause any adverse reactions or unsightly residue.
Step-by-Step Repair Guide for Beginners
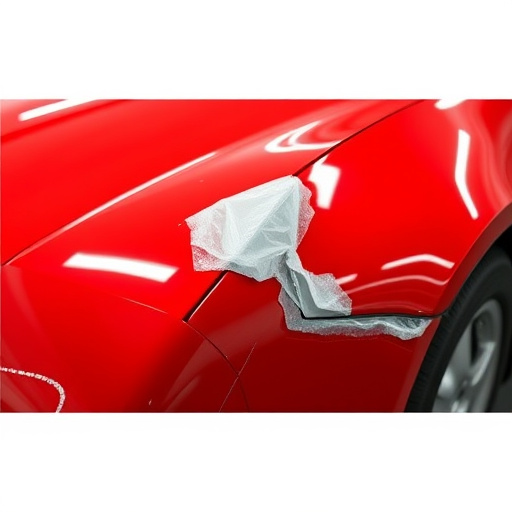
If you’re a Tesla owner looking to tackle a common aesthetic upgrade, a Tesla chrome delete repair is an accessible DIY project for beginners. This guide will walk you through the process step-by-step, ensuring a smooth and successful transformation. Start by gathering your supplies: you’ll need specific chemical solutions designed for chrome removal, along with fine-grit sandpaper and protective gear. Safety should always be your top priority during any repair work.
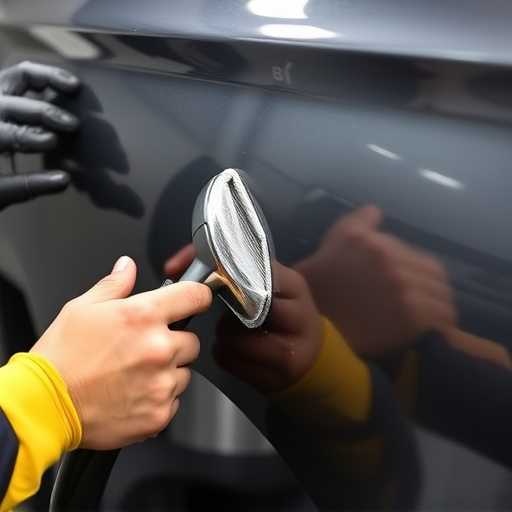
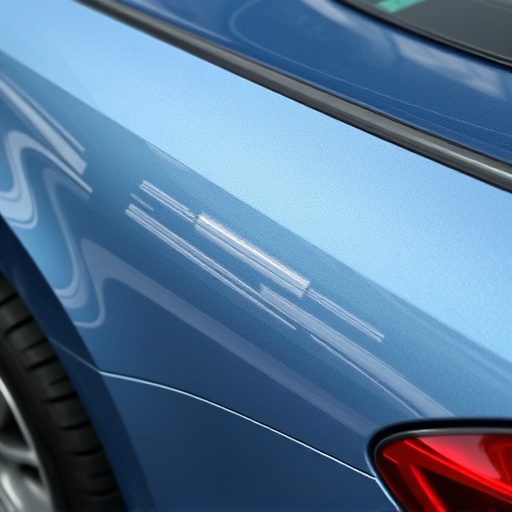
Begin by thoroughly cleaning the surface to be treated. Remove any debris or contaminants using a dedicated cleaner. Next, apply the chrome remover according to the manufacturer’s instructions, typically following a step-by-step process of scrubbing, rinsing, and drying. For those who prefer professional results or are addressing significant damage, consider consulting a reputable collision repair shop specializing in Mercedes Benz repairs – their expertise can be invaluable for achieving precision and longevity in your Tesla chrome delete project.
Whether you’re a Tesla owner looking to customize your vehicle or simply want to fix a damaged chrome detail, this Tesla Chrome Delete Repair Guide has equipped you with the knowledge and step-by-step instructions to tackle the process confidently. By understanding the basics of the Tesla chrome delete method and gathering the necessary tools, beginners can now attempt their own repairs, saving time and money while enhancing their car’s aesthetics. Remember, with a bit of patience and precision, achieving a seamless chrome delete result is within reach for any enthusiastic DIY enthusiast.