


Tesla ultrasonic sensor repair is essential for maintaining vehicle safety and driving dynamics. Common issues include sensor failure, connectivity problems, misalignment, corrosion, and debris buildup. The repair process involves systematic identification, disassembly, replacement, reconnecting to the ECU, rigorous testing, and addressing cosmetic damage. Prompt repair ensures optimal performance of advanced driver assistance systems (ADAS).
“Tesla vehicles rely heavily on ultrasonic sensors for safety and performance, making their repair a crucial task for owners. This article delves into the intricate world of Tesla ultrasonic sensor repair and reconnecting them to the Electric Control Unit (ECU) system. We’ll explore the fundamental role these sensors play in Tesla’s advanced driver-assistance systems and guide you through identifying common issues, understanding the underlying causes, and providing a step-by-step repair process for an effective solution.”
- Understanding Tesla Ultrasonic Sensors and Their Function
- Common Issues and Causes of Sensor Malfunction
- Step-by-Step Repair Process and Reconnecting to ECU System
Understanding Tesla Ultrasonic Sensors and Their Function

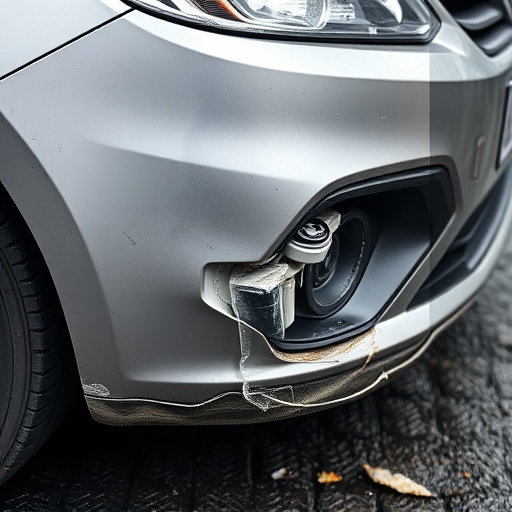
Tesla Ultrasonic Sensors are an integral part of the vehicle’s safety and driving dynamics. These sensors emit high-frequency sound waves to detect objects in close proximity, like other vehicles or obstacles on the road. The data collected helps the Tesla Electric Control Unit (ECU) make real-time decisions, ensuring safe and efficient driving. A malfunction in these sensors can impact the car’s automatic emergency braking, lane departure warning, and adaptive cruise control features, making their repair crucial for optimal vehicle performance and safety.
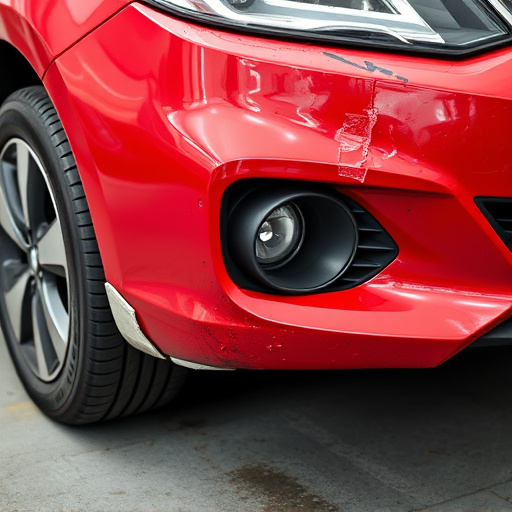
When issues arise, it often manifests as sensor failure or connectivity problems with the ECU. Common causes include physical damage during a bumper repair or car dent removal process at a reputable car body shop, exposure to extreme weather conditions, or internal component wear over time. Prompt diagnosis and repair are essential to restore these sensors’ functionality, ensuring the vehicle operates at peak performance and maintains its advanced driver assistance systems (ADAS) capabilities.
Common Issues and Causes of Sensor Malfunction
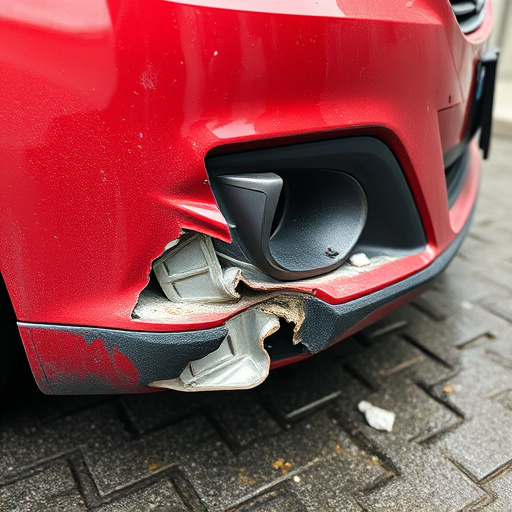
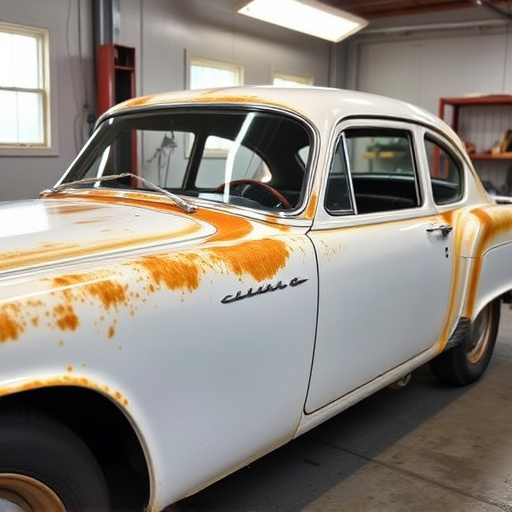
Tesla ultrasonic sensors, integral to the vehicle’s safety systems, can encounter issues leading to their malfunction. Common problems include sensor misalignment, resulting from manufacturing defects or damage during installation, which can cause inaccurate range readings and false alerts. Another frequent issue is sensor corrosion or debris buildup, stemming from exposure to moisture or road grime, impacting signal transmission and causing system errors.
The underlying causes often involve mechanical mishandling, inadequate installation practices, or environmental factors. Correcting these issues requires meticulous Tesla ultrasonic sensor repair, involving specialized tools and knowledge. Engaging in comprehensive auto body services, including dent repair where necessary, ensures the sensors are not only fixed but also properly recalibrated for optimal performance, aligning with the vehicle’s ECU system for seamless integration and enhanced safety.
Step-by-Step Repair Process and Reconnecting to ECU System
Step-by-Step Repair Process and Reconnecting to ECU System
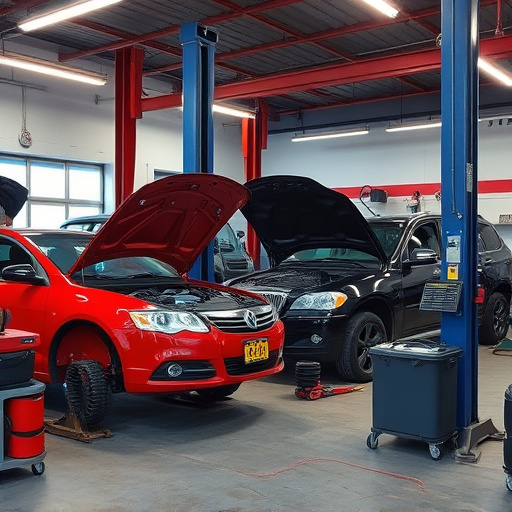
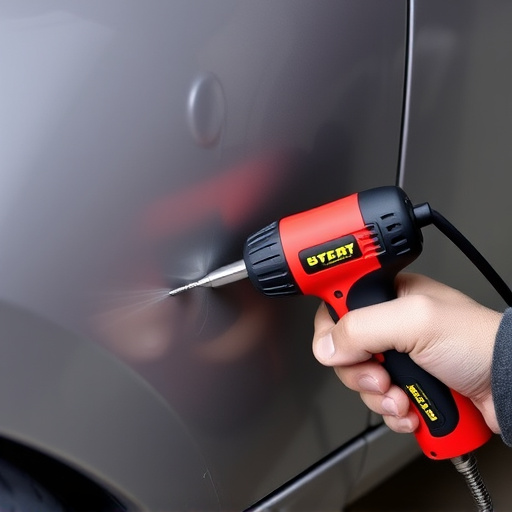
The Tesla ultrasonic sensor repair process begins with identifying the damaged or malfunctioning sensor. This often involves inspecting the vehicle for any visible signs of damage or unusual behavior, such as incorrect speed readings or erratic behavior during Autopilot operations. Once the sensor is located, the next step is disassembling the relevant module to access the ultrasonic transducer. It’s important to note that this process requires precision and a steady hand; using tools specifically designed for Tesla models ensures minimal damage during disassembly.
After removing the faulty sensor, replacing it with a new one involves careful installation and recalibration. This includes reconnecting the sensor to the Electric Control Unit (ECU) system through the appropriate diagnostic port. Before powering on, verify all connections are secure and tight. Post-installation, perform a series of tests to ensure the new sensor functions optimally. These tests can include basic operational checks as well as advanced simulations to mimic real-world scenarios. In light of these efforts, remember that while paintless dent repair or car paint repair isn’t directly involved in this process, scratch repair techniques might be needed if any cosmetic damage occurs during disassembly.
Tesla ultrasonic sensors play a vital role in the vehicle’s safety and performance systems. When these sensors malfunction, it’s crucial to address the issue promptly using a systematic approach. By understanding the common causes of sensor problems, such as contamination or damage, and following a step-by-step repair process, owners can effectively reconnect their Tesla ultrasonic sensors to the ECU system, ensuring optimal vehicle functionality and reliability. Efficient Tesla ultrasonic sensor repair is within reach for both professionals and knowledgeable car enthusiasts alike.