


Proper paint preparation, involving cleaning, sanding, and removing existing surfaces, ensures optimal adhesion and lasting results for both DIY projects and auto repairs. Initial steps include vacuuming and wet cleaning for even paint application. Sanding with varying grit levels smooths imperfections and creates an even base for new paint.
Preparing surfaces properly before painting is crucial for achieving a durable, beautiful finish. This guide delves into the essential steps of surface preparation, focusing on cleaning and sanding. From understanding the importance of optimal paint adhesion to mastering effective cleaning techniques and basic sanding methods, these tips will ensure your next paint job yields professional results. Learn how to transform rough surfaces into a smooth canvas ready for any paint, enhancing your space with lasting color.
- Understanding Surface Preparation for Optimal Paint Adhesion
- Effective Cleaning Techniques to Remove Dust and Debris
- Sanding Basics: Smooth Out Roughness for a Professional Finish
Understanding Surface Preparation for Optimal Paint Adhesion
Proper surface preparation is key to achieving optimal paint adhesion. Before painting, it’s crucial to clean and prepare the surface thoroughly, ensuring any dirt, grease, or existing paint is removed. This involves using appropriate cleaning solutions and techniques specific to the material, whether it’s wood, metal, or concrete. Sanding plays a vital role in this process, as it smoothes out irregularities and creates a roughened surface that allows fresh paint to bond better.
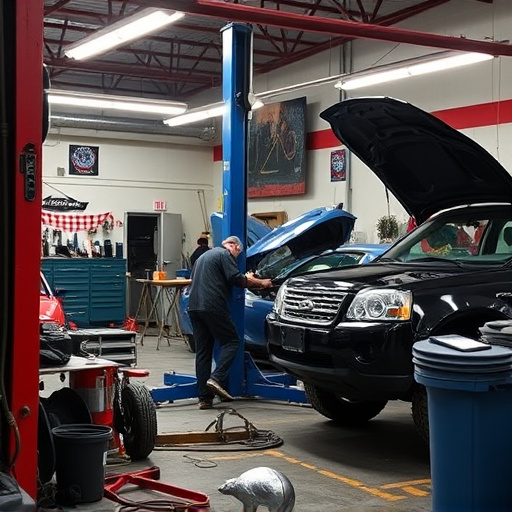
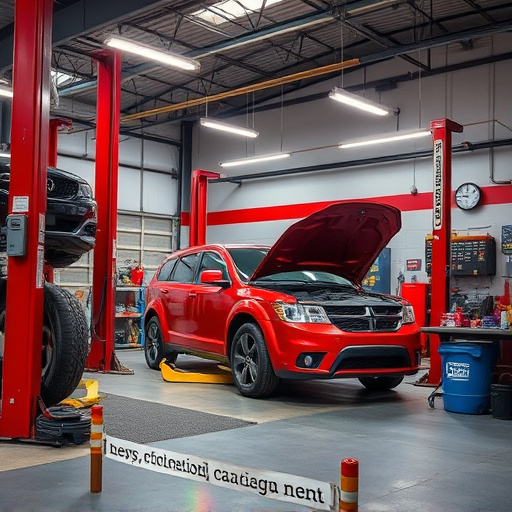
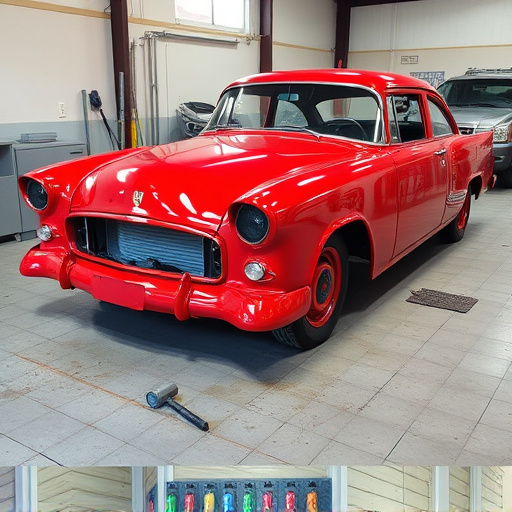
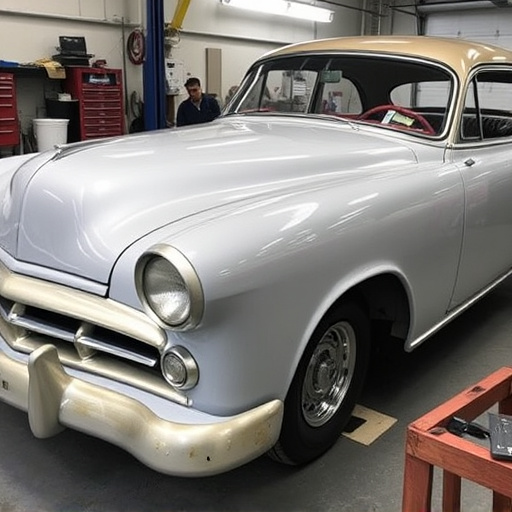
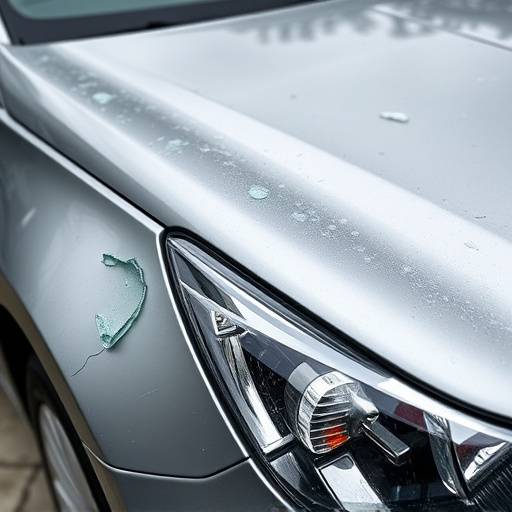
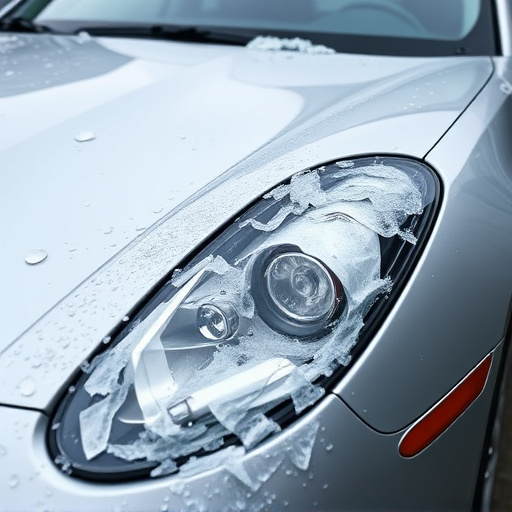
For instance, in vehicle body repair and frame straightening, auto repair services emphasize the importance of meticulous paint preparation. This includes removing rust, filling dents, and sanding down any imperfections. Such measures not only enhance the aesthetic appeal but also ensure the longevity of the paint job. By dedicating time and effort to these initial steps, you lay the groundwork for a durable, vibrant finish that will stand the test of time.
Effective Cleaning Techniques to Remove Dust and Debris
Effective Cleaning Techniques to Remove Dust and Debris
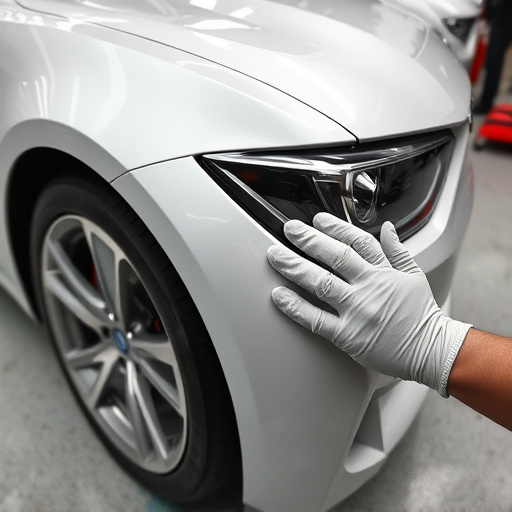
Before initiating any paint preparation, ensuring a surface is free from dust and debris is paramount for achieving a professional finish. Start by using a vacuum cleaner with a soft brush attachment to suck up loose particles, including fine dust that may have accumulated over time. This initial step goes a long way in preventing streaking or uneven application during the painting process.
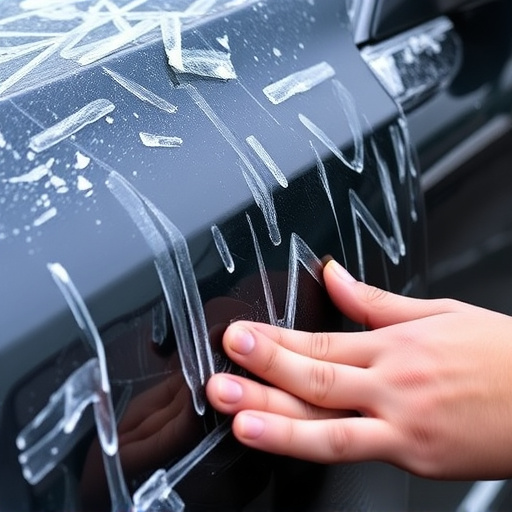
For more robust surfaces like those found in a collision repair shop or body shop services, a wet cleaning approach can be beneficial. Dampen a microfiber cloth with water and gently wipe down the area. This technique is especially effective for removing stubborn grime and oil stains that might interfere with paint adhesion. Rinse the cloth often to maintain its cleanliness and prevent transferring dirt back onto the surface.
Sanding Basics: Smooth Out Roughness for a Professional Finish
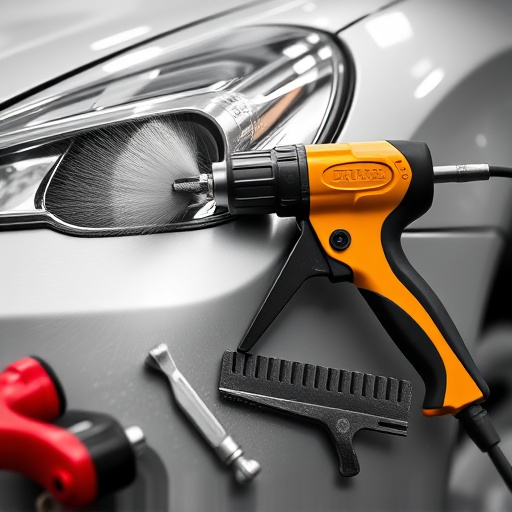
Sanding is an essential step in the paint preparation process, serving as a crucial bridge between cleaning and painting. It’s about more than just roughing up the surface; sanding smoothes out imperfections, removes old paint or debris, and ensures an even base for new paint to adhere to. Think of it as creating a sleek canvas before you start any artistic endeavor.
For most DIY projects and auto body repair shop tasks, using sandpaper with varying grit levels is the go-to method. Start with coarser sandpaper to tackle larger rough spots or old paint layers, then move on to finer grades for a smoother finish. Auto body shops often employ this technique during auto body repair processes, ensuring that every curve and corner is meticulously prepared before applying paint. The key is to be patient and diligent, allowing each step of the sanding process to create a layer-by-layer transformation toward a professional-looking final result.
Proper surface preparation is the foundation for achieving a durable, high-quality paint finish. By understanding the importance of cleaning and sanding, you can transform any space into a professional canvas ready for your creative touch. With these essential steps in your toolkit, you’re well-equipped to tackle any paint preparation task, ensuring your projects look as good as new.