


Chrome trim replacement involves using durable materials like stainless steel or plastic, requiring regular maintenance to prevent damage and discoloration. Prepare thoroughly by gathering tools, cleaning the area, and making related repairs. After installation, protect the trim with periodic cleaning and automotive wax every few months for long-lasting, glossy results comparable to professional repair services.
“Looking to keep your vehicle’s chrome trim shining like new after a replacement? This guide offers invaluable insights into maintaining these aesthetic features. We’ll first explore different types of chrome trim materials, helping you understand their unique properties. Next, we provide essential preparation tips for hassle-free installation. Finally, discover post-installation care routines to ensure longevity and maintain that fresh look. From regular cleaning to preventive measures, these tips are vital for anyone considering or post-chromed trim replacement.”
- Understanding Chrome Trim: Material and Types
- Preparation Tips Before Replacement
- Post-Installation Care and Maintenance Routines
Understanding Chrome Trim: Material and Types

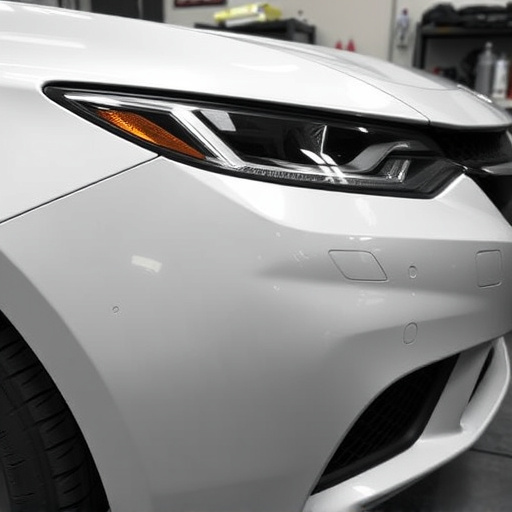
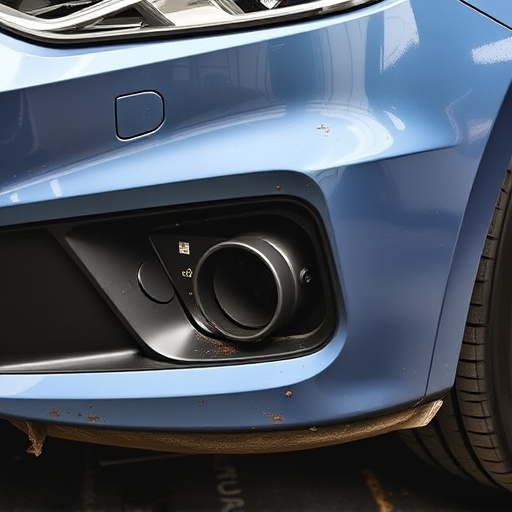
Chrome trim, often seen adorning vehicle exteriors, is both an aesthetic feature and a protective element. It’s made from various materials like stainless steel, zinc alloy, or plastic, each offering different levels of durability and maintenance requirements. Understanding these materials and their unique properties is key to proper chrome trim replacement and subsequent care.
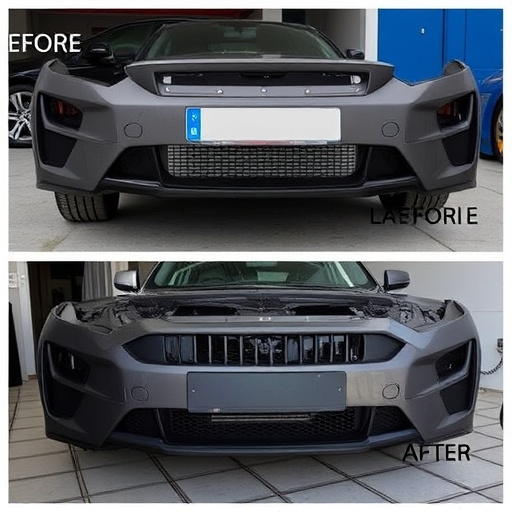
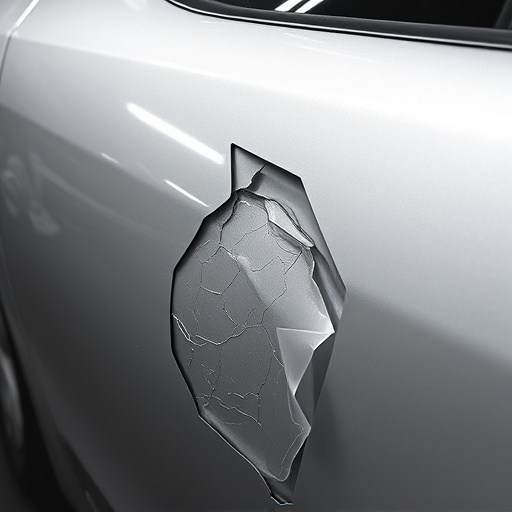
While some chrome trim pieces are solid and robust, others are more delicate, making them susceptible to dents, scratches, and discoloration over time. Regular auto maintenance includes inspecting trim for any signs of damage and addressing issues promptly through techniques like dent removal. Properly executed automotive repair services can restore damaged trim to its original condition, extending the life of these decorative elements and ensuring your vehicle maintains a sleek, polished look post-replacement.
Preparation Tips Before Replacement

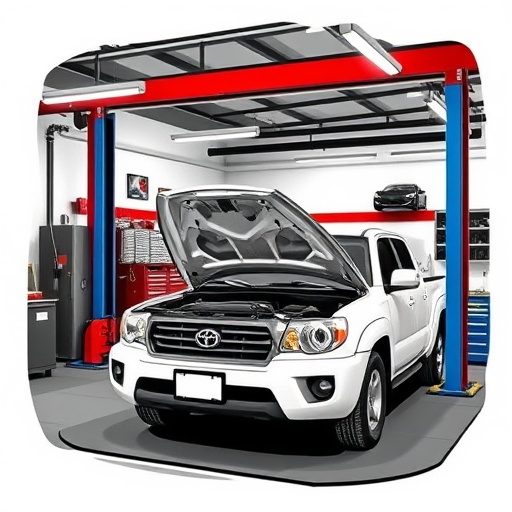
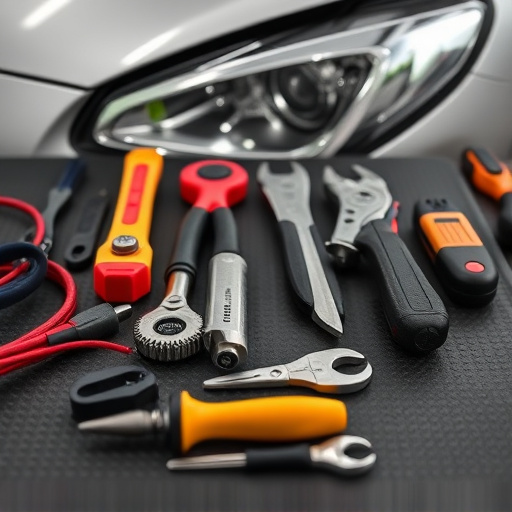
Before diving into a chrome trim replacement, proper preparation is key. Start by gathering all necessary tools and parts to ensure a smooth process. This includes obtaining high-quality replacement chrome trim from a reputable source, such as those specializing in car accessories or aftermarket parts. Clean the existing trim thoroughly; remove any debris, dirt, or old adhesives using suitable cleaning agents. This step is crucial for achieving a seamless fit and long-lasting results.
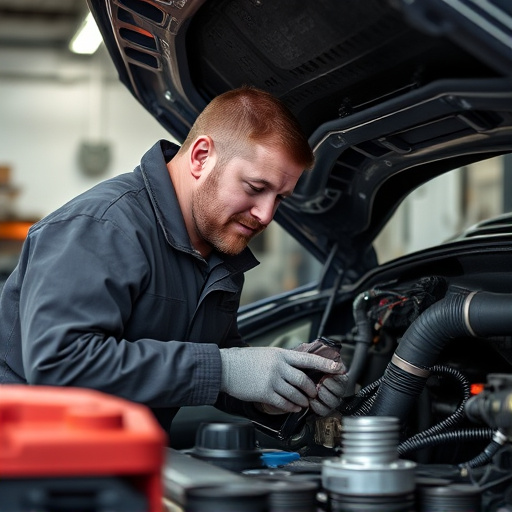
Additionally, consider scheduling a mercedes benz repair session to address any related issues. Tire services might also be required if there’s damage to the wheel wells during the trim removal process. As you prepare, ensure your workspace is well-lit and organized, allowing for easy access to tools. With these preparations in place, you’ll be ready to tackle the chrome trim replacement with confidence, setting the stage for a professional finish akin to those offered by top car repair services.
Post-Installation Care and Maintenance Routines
After successfully replacing your chrome trim, establishing a solid post-installation care routine is essential to ensure its longevity and maintain that fresh, glossy look. This involves regular cleaning and inspection to prevent any damage or debris accumulation. A soft, damp cloth slightly dipped in water and mild soap is ideal for cleaning the trim, avoiding aggressive scrubbers that could scratch the surface.
Additionally, sealing the chrome with a high-quality automotive wax every few months will protect it from harsh weather conditions and UV rays, preserving its shine and gloss. Incorporating these simple yet effective post-installation care practices into your vehicle’s maintenance routine ensures that your new chrome trim replacement remains a stunning feature for years to come, complementing your vehicle’s overall aesthetics alongside professional body shop services or automotive repair services.
After successfully replacing your vehicle’s chrome trim, proper maintenance is key to preserving its shiny, new appearance. By regularly cleaning with a soft cloth and water, avoiding harsh chemicals, and polishing as needed, you can ensure your chrome trim remains in top condition for years to come. Remember, routine care after installation will make all the difference in maintaining the beauty of your car’s exterior accents, highlighting the quality of your chrome trim replacement.