Conduct a thorough inspection to assess fiberglass panel damage. For minor issues, use repair techniques; severe cases may require aftermarket replacements. Follow seven key steps for panel repair: assessment, preparation, resin mixing & application, curing, shaping/sanding, priming/painting, touch-ups. Replace panels with aftermarket parts for extensive hail or accident damage. Consult experts for best course of action in vehicle maintenance and aesthetics.
When it comes to repairing or replacing a damaged fiberglass panel, understanding your options is key. This article guides you through the process of evaluating and fixing minor issues with fiberglass panels, offering a cost-effective solution. We’ll walk you through a step-by-step repair guide, teaching you techniques to patch and restore these composite materials. Additionally, we’ll explore signs indicating when aftermarket replacements are the better choice for more extensive damage.
- Evaluating Damage: Inspect Before Deciding
- Repair Process: Step-by-Step Guide to Fiberglass Panel Repair
- When to Replace: Knowing When Aftermarket Parts Are Necessary
Evaluating Damage: Inspect Before Deciding

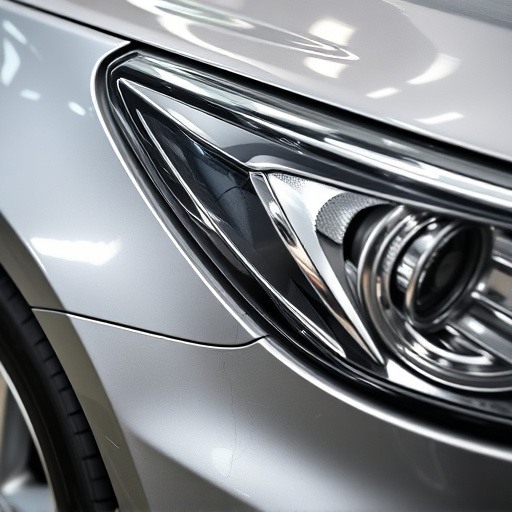
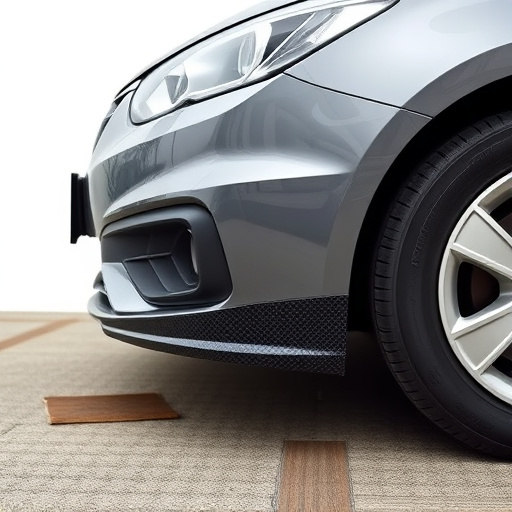
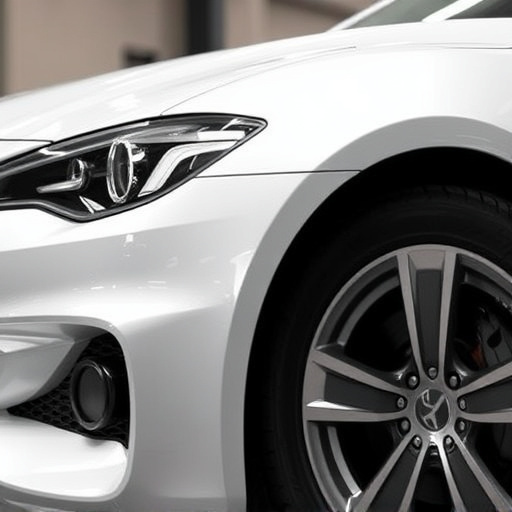
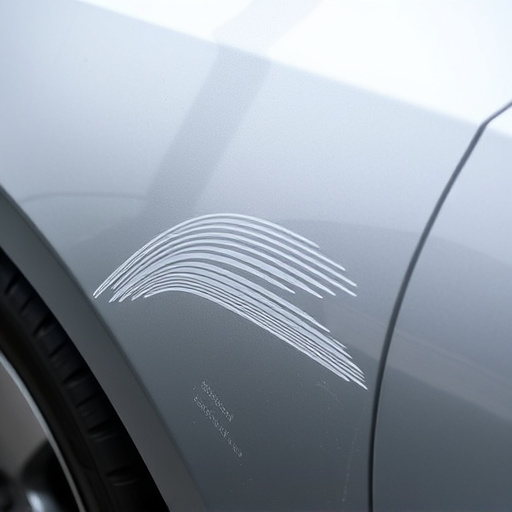
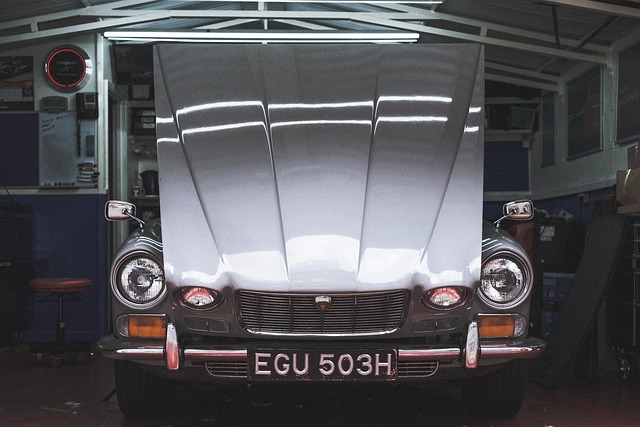
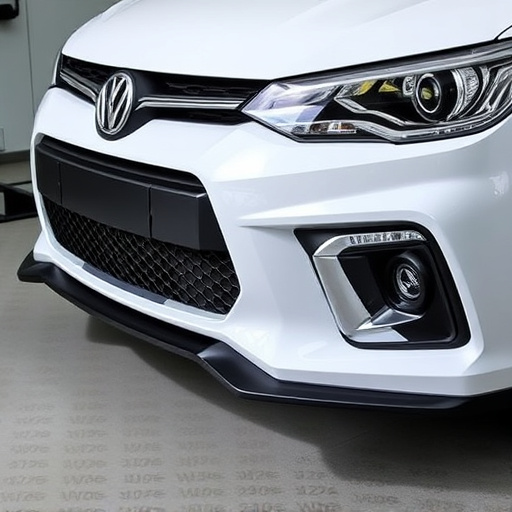
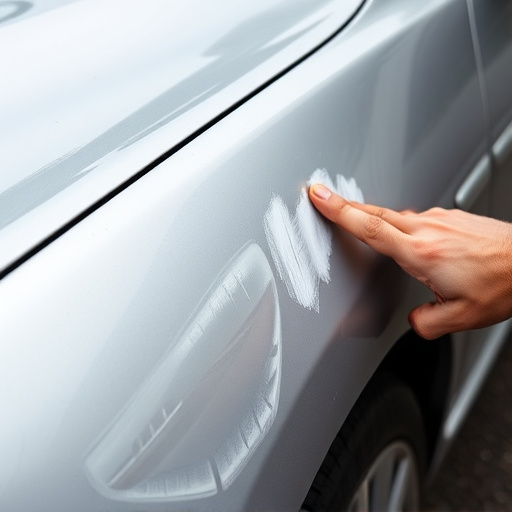
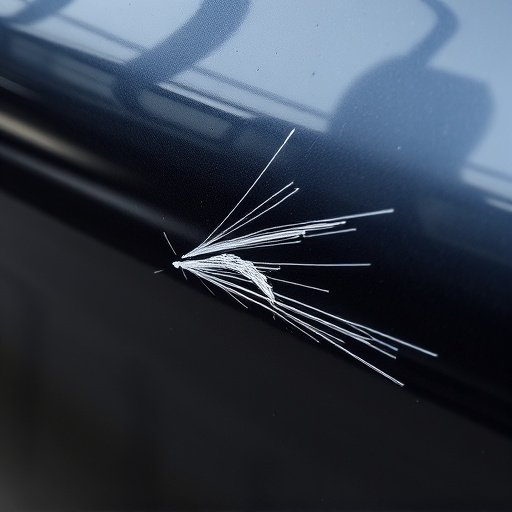
Before making a decision between repairing or replacing a damaged fiberglass panel, it’s crucial to conduct a thorough inspection. This step is vital in determining the extent of the harm and guiding your choice. Start by examining the panel visually for cracks, dents, or delaminations. These signs often indicate beyond minor repairs, suggesting a need for replacement. If the damage is limited to small chips or scratches, fiberglass panel repair techniques might be viable.
For more severe cases involving extensive damage or rust formation, especially in luxury vehicle repair scenarios, aftermarket replacements could offer better solutions. Car paint repair expertise is valuable here, ensuring seamless integration of new panels with the existing car body. Vehicle collision repair professionals can provide insights into cost-effective options, balancing quality and budget considerations during your decision-making process.
Repair Process: Step-by-Step Guide to Fiberglass Panel Repair
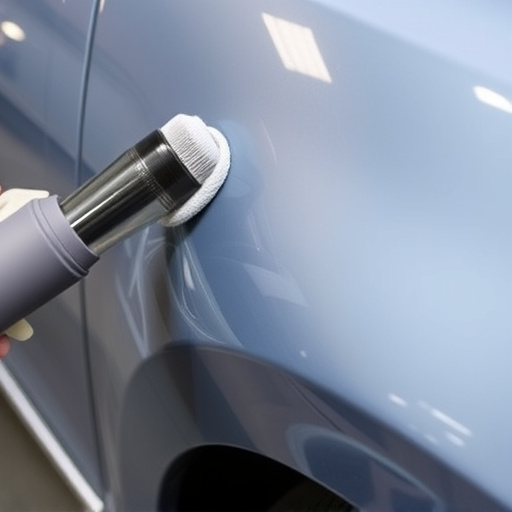
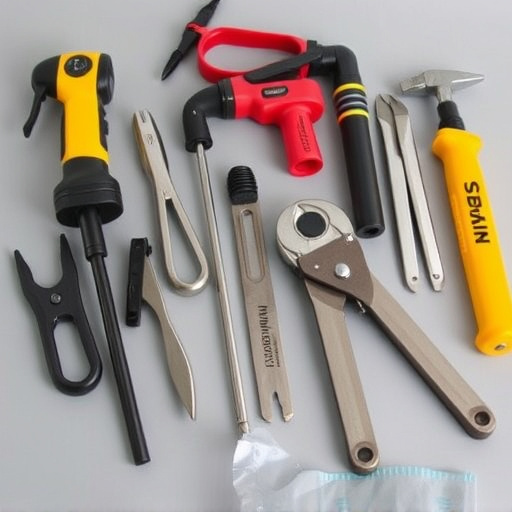
Repairing a fiberglass panel is an intricate process that requires patience and precision, but it can be a cost-effective alternative to replacing the entire part. Here’s a simplified guide for those considering this route:
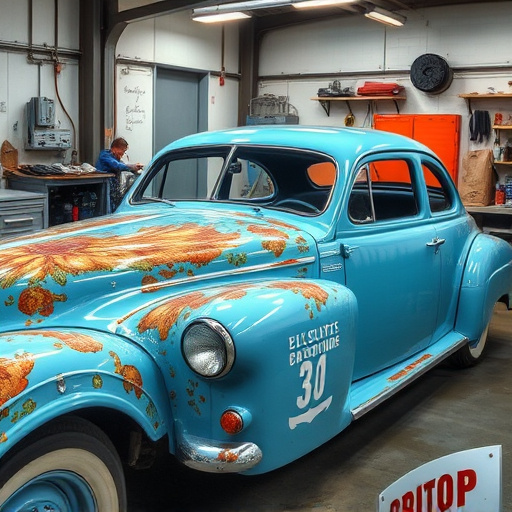
1. Assessment: Begin by thoroughly inspecting the damaged area. Identify any cracks or holes and determine their size. For classic car restoration projects, every detail matters, so ensure you assess the extent of the damage and consider whether nearby areas might also need attention.
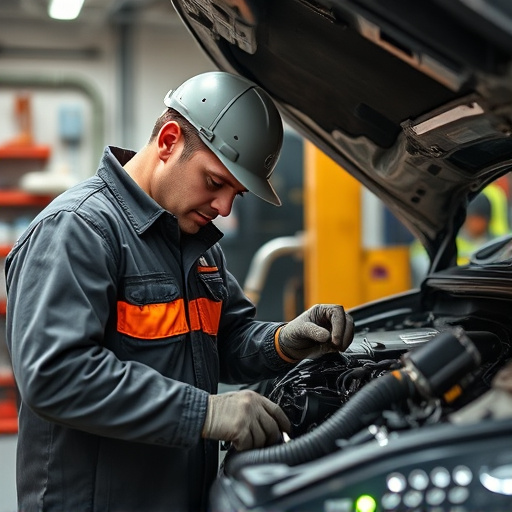
2. Preparation: Gather your tools and materials: a fiberglass repair kit (including resin, hardener, and fiber glass matting), sandpaper, primer, paint, and protective gear. Auto maintenance involves safety measures, so wear gloves and eye protection during the preparation phase. Clean the damaged area, removing any loose debris or rust.
3. Application: Mix the resin and hardener according to the manufacturer’s instructions. Apply a thin layer of resin over the damage, ensuring it fills the cracks and holes completely. Place the fiberglass matting over the resin, pressing it firmly against the panel. This step is crucial for achieving a smooth finish during classic car restoration.
4. Curing: Allow the resin to cure fully. The time varies depending on the product, so follow the kit’s instructions carefully. Once cured, gently remove the excess fiberglass matting.
5. Shaping and Sanding: Use fine-grit sandpaper to shape and smooth the repaired area until it matches the surrounding panel. Pay close attention to details, especially in classic car restoration projects, to ensure a seamless finish when painting.
6. Priming and Painting: Apply primer, allowing it to dry completely. Then, use automotive paint that matches your vehicle’s color. Multiple thin coats are better than one thick layer for even coverage.
7. Final Touches: Once the paint is dry and cured, inspect the repair job. Make any necessary touch-ups, ensuring a professional finish before reassembling the panel.
When to Replace: Knowing When Aftermarket Parts Are Necessary
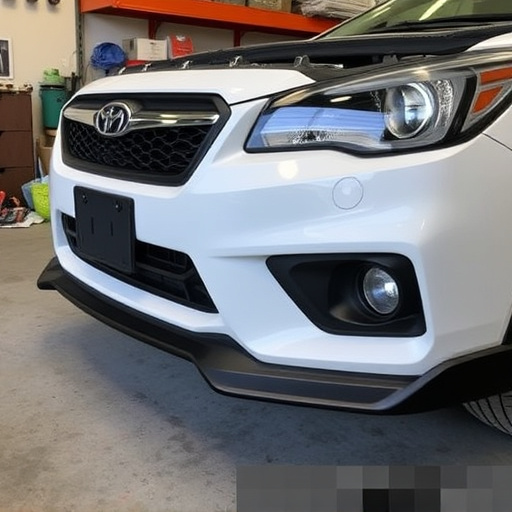
Knowing when to replace a fiberglass panel is key to maintaining your vehicle’s integrity and aesthetics. While fiberglass panel repair can be a cost-effective solution for minor damages, such as cracks or bumps, it may not be feasible for extensive damage caused by hail storms or severe accidents. If the panel is beyond repair or if multiple panels are affected, aftermarket replacement parts become necessary.
In many cases, aftermarket fiberglass panels offer a more affordable option than custom fabrication from a car repair shop. They are designed to fit specific vehicle models and can be easily installed as part of auto body services. When considering hail damage repair or any significant restoration work, consulting with professionals who specialize in these types of repairs will help determine the best course of action for your vehicle’s needs.
When deciding between fiberglass panel repair and aftermarket replacement, a thorough inspection of the damage is crucial. The repair process offers a cost-effective solution for minor to moderate issues, allowing you to extend the life of your vehicle. However, for extensive or complex damage, aftermarket parts might be the better option, ensuring a seamless fit and long-lasting performance. By understanding when each approach is suitable, you can make an informed decision, saving time and money while maintaining the integrity of your vehicle’s exterior.