


Anti-flutter foam is vital for automotive body restoration, preventing surface imperfections and serving as a robust bonding agent between paint and car body panels. Skilled technicians prioritize meticulous surface preparation including cleaning, degreasing, priming, sanding, and inspecting for damage to ensure optimal bonds during anti-flutter foam replacement, crucial for successful paint applications, especially in Mercedes Benz collision repair. Proper preparation prevents future issues and enhances adhesion. Replacing anti-flutter foam requires a systematic approach with focus on secure attachment through tailored methods and best practices to minimize flaking or separation.
Preparing surfaces properly is crucial for successful anti-flutter foam replacement, ensuring long-lasting results. This comprehensive guide explores the essential steps involved in preparing your surface before installing new anti-flutter foam. From understanding the critical role of this specialized foam to implementing effective replacement techniques, you’ll discover key considerations and best practices. By following these strategies, you can guarantee a robust, secure, and functional anti-flutter foam solution.
- Understanding Anti-Flutter Foam and Its Role
- Preparing Surfaces: Key Steps and Considerations
- Effective Replacement Techniques and Best Practices
Understanding Anti-Flutter Foam and Its Role
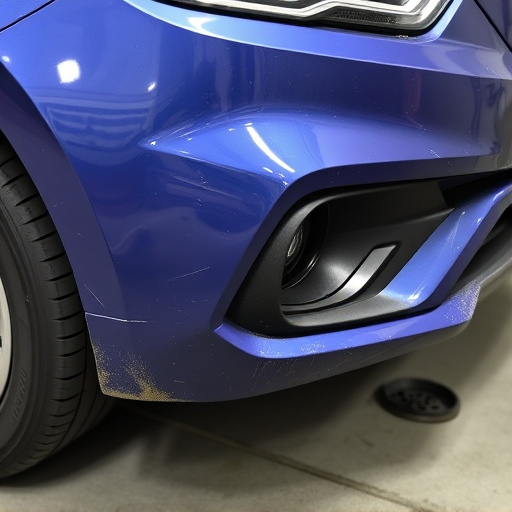
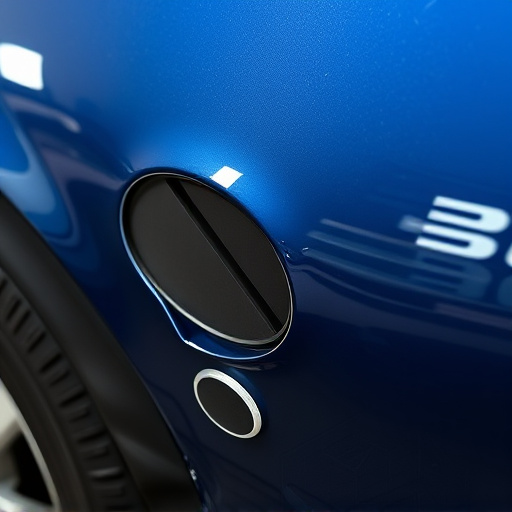
Anti-flutter foam is a specialized material crucial for achieving seamless and durable finishes in automotive body restoration projects. Its primary role is to prevent surface flutter or wave patterns, which can occur due to the expansion and contraction of underlying materials during drying or curing processes. This foam acts as a critical bonding agent between the paint and the car’s body panel, ensuring a smooth, long-lasting finish.
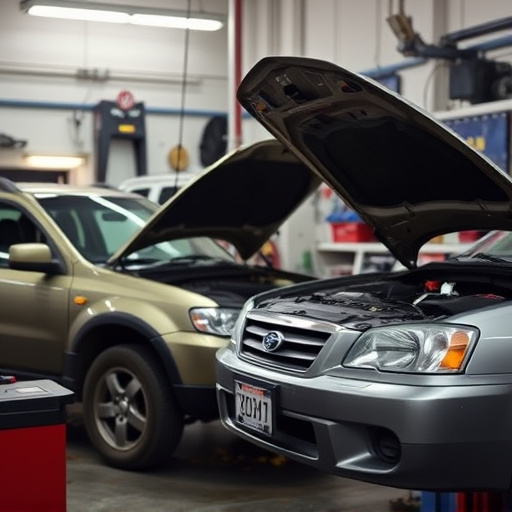
In collision repair centers and hail damage repair scenarios, proper preparation of surfaces is paramount before applying anti-flutter foam. Skilled technicians understand that achieving an optimal bond requires meticulous surface cleanup, degreasing, and priming. By removing any contaminants or debris, they create a clean canvas upon which the foam can adhere perfectly, ensuring the success of the subsequent paint job.
Preparing Surfaces: Key Steps and Considerations
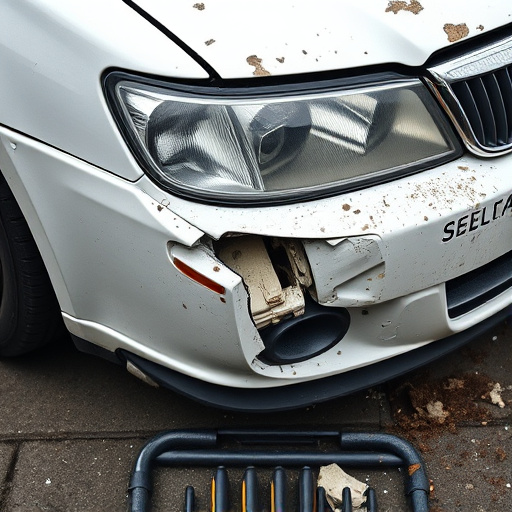
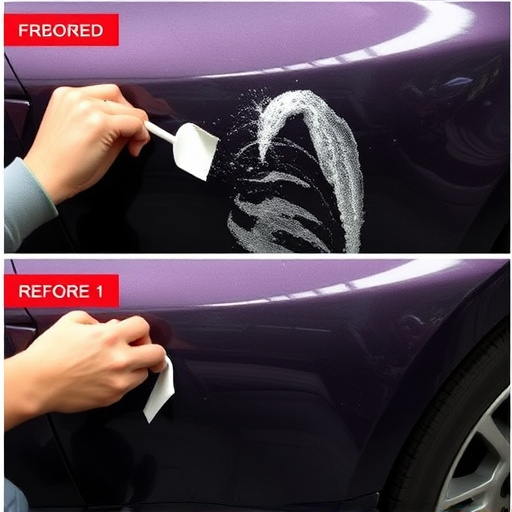
Preparing surfaces is a critical step in ensuring effective anti-flutter foam replacement. Before installing new foam, it’s essential to thoroughly clean and decontaminate the area to remove any dirt, grease, or residue that could compromise adhesion. This process involves using specialized cleaners and solvents to ensure the surface is free from contaminants. A key consideration is achieving proper surface roughness; roughening the surface slightly can enhance foam bonding, leading to a more durable and long-lasting replacement.
Additionally, inspecting for any damage or irregularities is vital. Repairs should be made to any holes, cracks, or delaminations to provide a solid foundation for the new foam. Sanding and priming may be necessary in severe cases, especially when dealing with car dent removal and mercedes benz collision repair. Proper surface preparation not only ensures better adhesion but also prevents future issues, making it an indispensable step in anti-flutter foam replacement, particularly in demanding environments where body shop services excel.
Effective Replacement Techniques and Best Practices
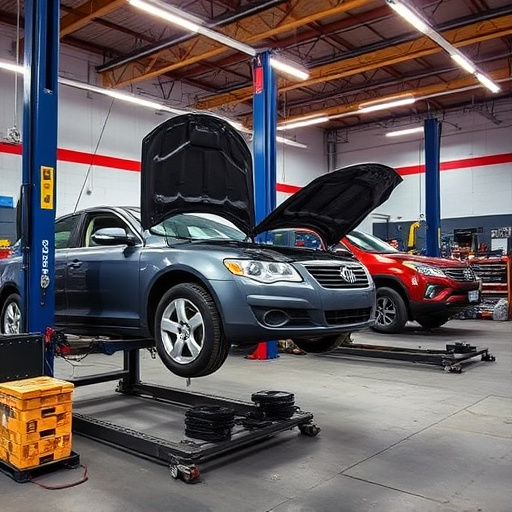
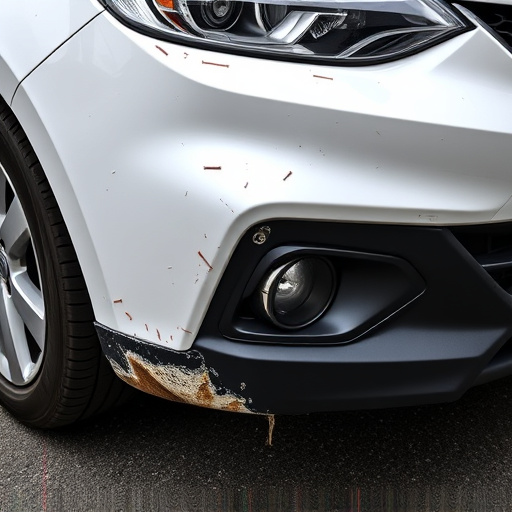
When replacing anti-flutter foam, understanding effective techniques and best practices is paramount to achieving long-lasting results in paintless dent repair. The process begins with thorough preparation of the surface, ensuring all debris and contaminants are removed. This includes dust, dirt, and any remaining fragments of the damaged foam. A clean, dry surface is crucial for successful adhesion of the new anti-flutter material.
For optimal outcomes, consider using specialized cleaning solutions designed for automotive applications to degrease and decontaminate the area. Following this, a light sanding may be necessary to create a rough texture that enhances bonding. It’s also essential to consider the type of fender bender or auto collision center you’re working with—some prefer specific methods tailored to their equipment and procedures. By adhering to these practices, you can ensure the new anti-flutter foam is securely attached, minimizing the risk of future issues like flaking or separation, common challenges in the paintless dent repair process.
When preparing surfaces for effective anti-flutter foam replacement, understanding the critical role of this material in various industries is paramount. By meticulously following key preparation steps and considering essential factors, you lay the groundwork for successful foam installation. Implement effective replacement techniques and adhere to best practices to ensure optimal performance and longevity of your anti-flutter foam, ultimately enhancing structural integrity and noise reduction across diverse applications.