


Regular inspections are key to identifying early signs of front fascia damage on Tesla Model 3s. Assemble a specialized repair kit with accurate replacement parts and tools. Prioritize safety and cleanliness for precise repairs. For complex body work, seek professional assistance. Meticulously clean, replace, align, and secure the new fascia, reattaching components and testing functions for top-quality Tesla Model 3 front fascia repair.
“Revitalize your Tesla Model 3’s look with this comprehensive guide to front fascia repair. Over time, the front grill and bumper can sustain damage from road debris or minor bumps, impacting your vehicle’s aesthetic appeal. This article equips you with the knowledge to understand common Tesla Model 3 front fascia issues, outlines essential tools and materials for a successful DIY repair, and provides a detailed step-by-step process to restore your car’s sleek appearance, ensuring it drives as good as it looks.”
- Understanding Tesla Model 3 Front Fascia Damage
- Gathering Tools and Materials for Repair
- Step-by-Step Guide to Restoring Appearance
Understanding Tesla Model 3 Front Fascia Damage
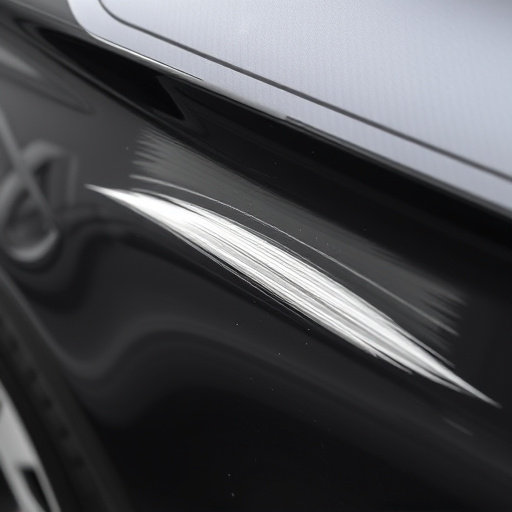
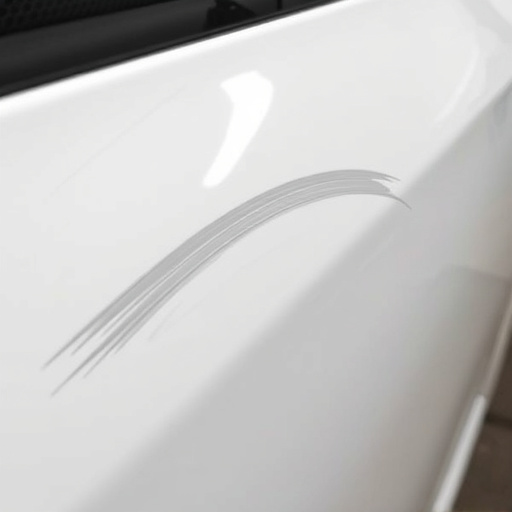
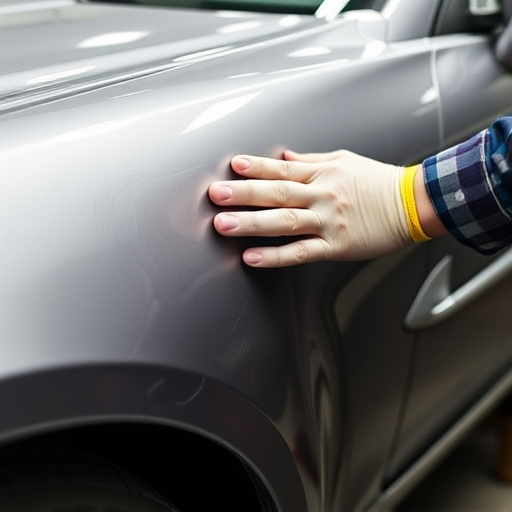
The Tesla Model 3, like any vehicle, is susceptible to front fascia damage over time due to various external factors such as road debris, minor collisions, or even simple wear and tear. This damage can manifest in several ways, from small cracks and chips in the plastic components to more significant deformities affecting the overall aesthetics of the car. Understanding the extent of the damage is crucial before initiating any Tesla Model 3 front fascia repair.
Regular inspection is key to identifying potential issues early on. Signs of damage may include noticeable dents, scuffs, or cracks visible upon closer examination. In some cases, the front fascia might have lost its original shape, resulting in an uneven appearance. If left unattended, these issues can escalate, impacting not just the car’s visual appeal but also its structural integrity. Prompt action and seeking professional auto body services for Tesla Model 3 front fascia repair are essential to restore both functionality and that classic car restoration look.
Gathering Tools and Materials for Repair

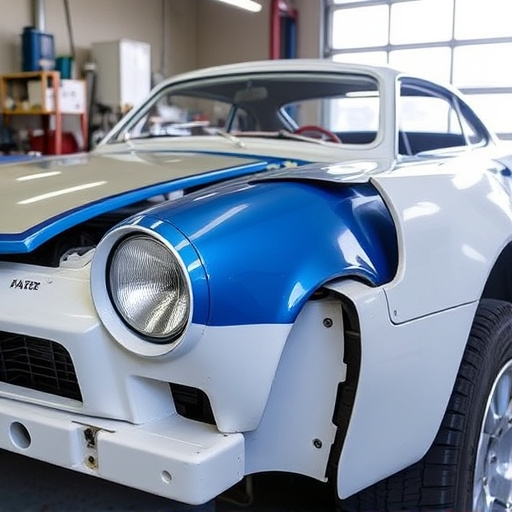
When undertaking a Tesla Model 3 front fascia repair, it’s crucial to gather the right tools and materials. This includes high-quality replacement parts specifically designed for the Model 3, such as a new front fascia panel and any necessary hardware. Consider also having on hand various tools like a socket set, torque wrench, and plastic welding equipment or adhesive suitable for automotive use. For a seamless repair, you might also need primers, paints, and clear coats that match the vehicle’s original finish, which can be sourced from reputable auto parts stores or online retailers specializing in Tesla accessories.
Additionally, safety should be a top priority during the repair process. Eye protection, gloves, and a dust mask are essential to shield you from debris and chemicals. Having a clean, well-lit workspace is equally important for accurate measurements and smooth application of repairs. While some minor fender repairs can be done at home, more complex body shop services like those required for significant dents or cracks might necessitate professional assistance for optimal results.
Step-by-Step Guide to Restoring Appearance

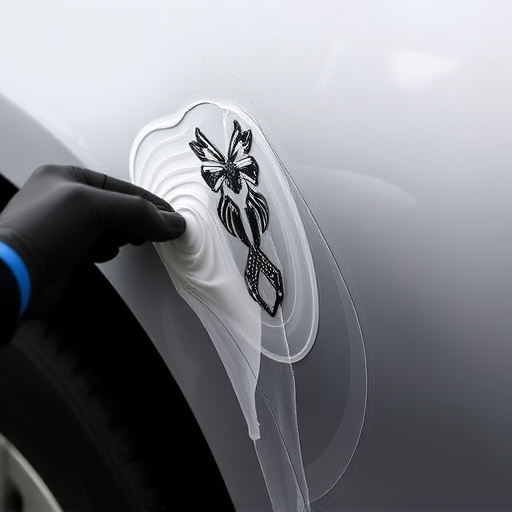
Restoring the appearance of your Tesla Model 3’s front fascia involves a meticulous process that can be tackled with the right tools and guidance. Start by gathering all necessary materials, including high-quality replacement parts specifically designed for the Model 3. Begin with a thorough cleaning to ensure no debris or contaminants obscure the repair area. This step is crucial in achieving a seamless finish.
Next, carefully remove any surrounding components that might interfere with the fascia repair, such as sensors or lights. With these out of the way, inspect the damaged fascia and mark any irregularities for reference. Using precision tools, gently pry off the old fascia, taking note of its original positioning. Once removed, clean the underlying surface thoroughly to prepare it for new installation. Proceed to install the replacement fascia by aligning it precisely with the vehicle’s design, securing it in place using recommended adhesives or fasteners. Finally, carefully reattach any removed components and test all functions to ensure a successful Tesla Model 3 front fascia repair that restores your car’s aesthetic appeal, rivaling even a top-tier car repair shop’s work.
Restoring your Tesla Model 3’s front fascia is an achievable task that can significantly enhance your vehicle’s appearance. By understanding common damage types, gathering the right tools and materials, and following a simple step-by-step guide, you can effectively repair and revive your car’s front end. With these tips in hand, you’re well-equipped to tackle any minor scuffs or more significant dents, ensuring your Tesla Model 3 looks as good as new.