
Regularly inspect Tesla interior for broken clips and tabs, addressing wear promptly. Use tools like precision screwdrivers, automotive adhesives, and for complex cases, an air compressor. Access to bodywork, auto glass, and collision repair services is beneficial. DIY Tesla interior trim repair with basic skills and appropriate tools prevents costly collisions and maintains vehicle aesthetics and safety features.
Tesla owners often face the challenge of broken clips and mounting tabs within their vehicle’s interior. This can lead to loose or damaged components, impacting both aesthetics and functionality. This article serves as a comprehensive guide for Tesla interior trim repair, focusing on identifying issues, gathering essential tools and materials, and providing a step-by-step process to restore your vehicle’s interior trim effectively. Learn how to tackle these common repairs and keep your Tesla looking its best.
- Identifying Broken Clips and Mounting Tabs in Tesla Interiors
- Tools and Materials Required for Repair
- Step-by-Step Guide to Effective Tesla Interior Trim Restoration
Identifying Broken Clips and Mounting Tabs in Tesla Interiors

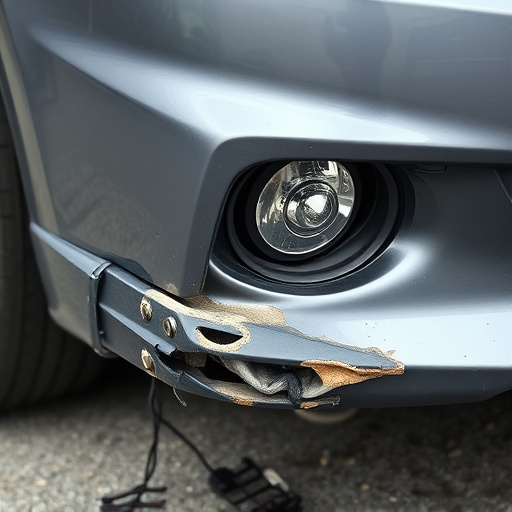
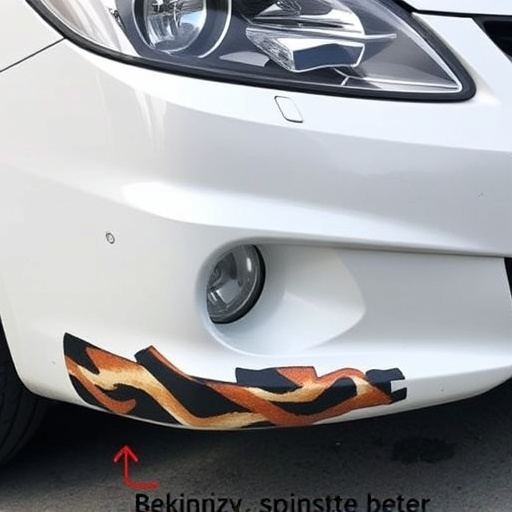
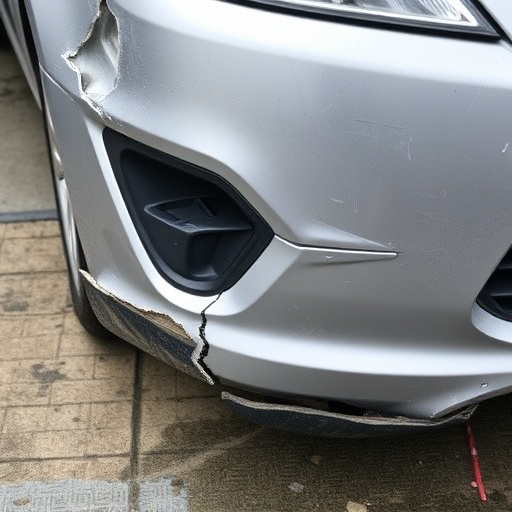
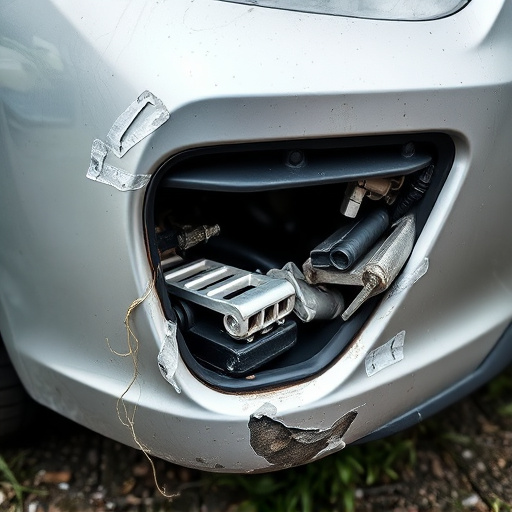
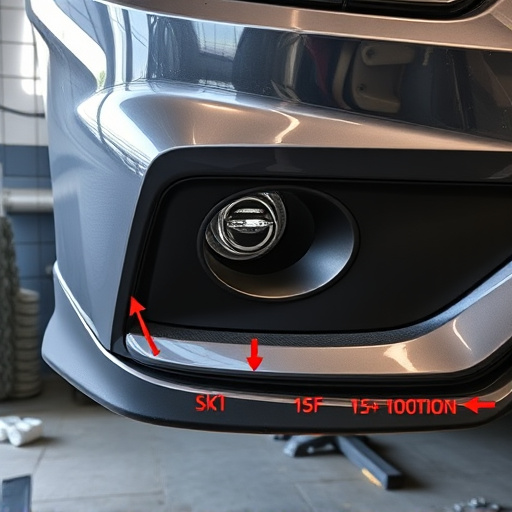
In the sleek and modern interior of a Tesla, even minor damage to clips and mounting tabs can stand out like a sore thumb. Identifying broken components is the first step in any Tesla interior trim repair process. Carefully inspect the areas around doors, windows, and other panels for visible signs of damage, such as cracked or missing clips. These small but crucial fasteners are often the first to show wear and tear, especially in high-traffic areas like side doors. If you notice any loose or absent tabs, it’s a clear indication that professional Tesla interior trim repair is necessary.
Regular maintenance can prevent such issues, but car dent removal and car body repair might still be required over time. When addressing broken clips and tabs, opt for high-quality replacement parts to ensure longevity. Car paint services may also be part of the solution if the damage has led to cosmetic imperfections. By promptly identifying and addressing these problems, Tesla owners can maintain their vehicle’s aesthetic appeal and safety features.
Tools and Materials Required for Repair
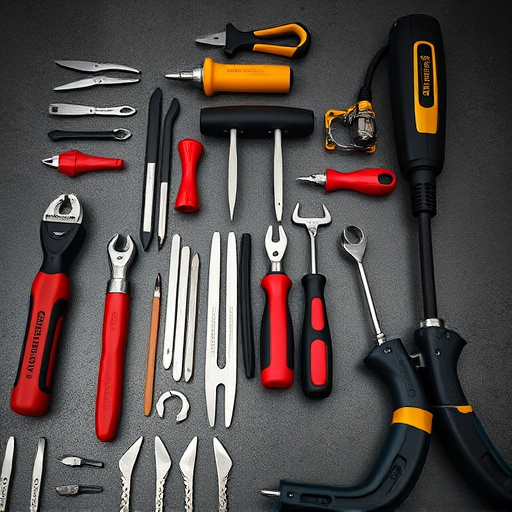
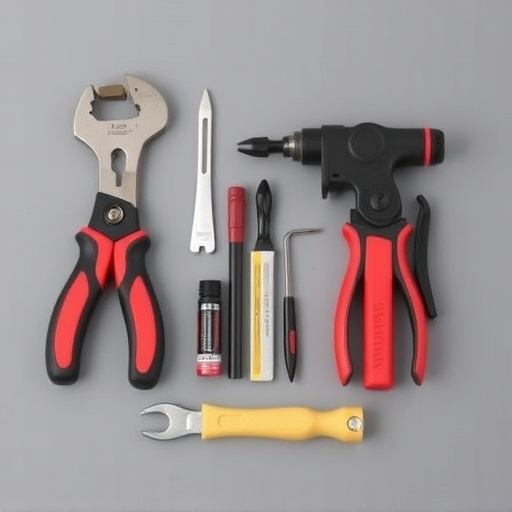
To successfully undertake Tesla interior trim repair for broken clips and mounting tabs, several specific tools and materials are required. This includes a set of precision screwdrivers, typically flathead and Phillips, to access and replace the small fasteners securely holding the trim in place. Additionally, a strong adhesive designed for automotive interior repairs is essential, ensuring a lasting fix that matches the vehicle’s original quality.
For more complex or severe damage, professional-grade tools like an air compressor with a compact nozzle can be beneficial, allowing for the removal of stubborn clips without causing further harm to the delicate trim components. While these are the core essentials, having access to car bodywork services, auto glass replacement experts, and vehicle collision repair facilities nearby can provide additional support in case of more extensive damage or when professional assistance is needed throughout the Tesla interior trim repair process.
Step-by-Step Guide to Effective Tesla Interior Trim Restoration
Restoring Tesla’s interior trim is a DIY-friendly task that can save you time and money, especially if you’re familiar with basic car repair techniques. Here’s a step-by-step guide to effectively repairing broken clips and mounting tabs in your Tesla. First, gather all necessary tools and materials: a set of precision screwdrivers, replacement clips or tabs, plastic welding equipment (if needed), and cleaning supplies. Begin by removing the damaged trim piece carefully, taking note of its placement and how it attaches. Inspect the existing clips and tabs for any signs of damage or wear, ensuring you understand why they failed before replacing them. Next, clean the area thoroughly to remove dirt and debris, as a clean surface is crucial for successful repairs.
Proceed with installing new clips or tabs, following the same attachment method as the original parts. Use appropriate adhesives or welding techniques if required, making sure everything aligns perfectly. Once the replacements are secured, test the trim’s functionality and appearance to ensure a seamless fit. Regular maintenance and prompt attention to damaged interior components can prevent costly collision repairs (from car repair shops) and keep your Tesla looking like new.
Repairing broken clips and mounting tabs in your Tesla’s interior is a manageable task with the right tools and guidance. By following the step-by-step guide provided, you can effectively restore your vehicle’s interior trim, ensuring a neat and professional finish. This DIY approach not only saves costs but also empowers owners to take care of minor repairs themselves, contributing to the overall longevity of their Tesla’s interior. For those facing similar issues, remember that addressing these broken components is crucial for maintaining the aesthetic appeal and value of your electric vehicle.