


Before repairing a Mercedes Magic Sky Control, conduct a thorough damage assessment and source specialized parts. Follow safety protocols, disassemble components, replace the panel, reconnect wiring, and test rigorously. Final adjustments ensure optimal system performance and precise control over interior environment conditions.
Discover how to expertly fix your Mercedes Magic Sky Control with this comprehensive guide. Starting with a meticulous assessment of the damage, we’ll walk you through identifying the necessary parts for a successful repair. Next, follow our step-by-step instructions to replace the panel like new. We’ll also cover testing and adjustments to ensure optimal performance. By the end, your Mercedes will be restored to its former glory, with a fully functional Magic Sky Control ready to enhance your driving experience.
- Assess Damage and Required Parts for Mercedes Magic Sky Control Repair
- Step-by-Step Guide to Replacing the Mercedes Magic Sky Control Panel
- Testing and Final Adjustments After Completing the Mercedes Magic Sky Control Repair
Assess Damage and Required Parts for Mercedes Magic Sky Control Repair

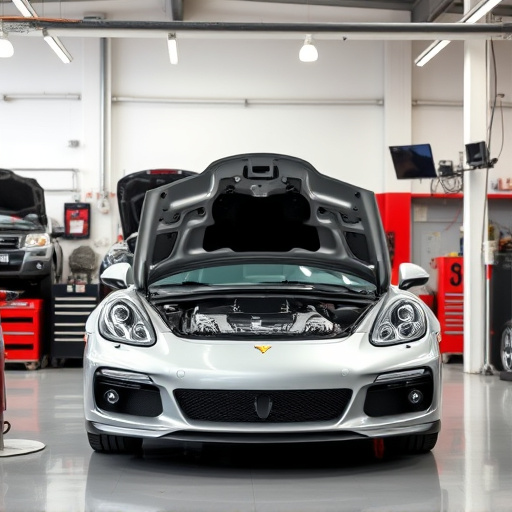
When tackling a Mercedes Magic Sky Control repair, the first step is to thoroughly assess the damage. This involves inspecting the entire system for any visible signs of wear and tear, cracks, or defects. Pay special attention to the control module, sensors, and actuators as these components are crucial for the roof’s operation. Additionally, check for any fluid leaks or electrical issues that might indicate broader problems.
Once you’ve identified the extent of the damage, it’s time to source the necessary parts. For a Mercedes Magic Sky Control repair, you’ll typically need replacement parts specifically designed for this model. This includes components like control units, wiring harnesses, and motors. It’s advisable to consult with either an auto glass repair or collision center specialist who can provide guidance on the exact parts required based on your vehicle’s make and model.
Step-by-Step Guide to Replacing the Mercedes Magic Sky Control Panel
Replacing the Mercedes Magic Sky Control panel involves a meticulous process that requires precision and expertise. Here’s a step-by-step guide for auto collision centers or auto repair shops looking to tackle this specialized repair:
1. Safety First: Begin by ensuring the vehicle is secure and powered off. Remove any personal items from the area and put on safety gear, including gloves and eye protection. This step is crucial for both safety and convenience during the repair process.
2. Accessing the Panel: The Mercedes Magic Sky Control panel is typically located in the vehicle’s roof module. Refer to the vehicle’s service manual for precise instructions on disassembly. Carefully remove any surrounding components, such as trim pieces or weather stripping, to gain access to the panel.
3. Disconnecting Wiring: Before removing the old panel, meticulously document each wire connection and its function using photographs or a detailed diagram. Then, carefully disconnect all wires associated with the Magic Sky Control system, taking special care not to damage any delicate connectors.
4. Removing the Old Panel: With the wiring disconnected, remove any screws or fasteners securing the old panel in place. Gently lift the panel out of its housing, being mindful of any retaining clips or mechanisms.
5. Installing the New Panel: Position the new Magic Sky Control panel carefully within the roof module, ensuring proper alignment with all mounting points. Secure it firmly using the appropriate screws and fasteners, following the vehicle’s service manual for correct torques specifications.
6. Reconnecting Wiring: Reconnect each wire to its corresponding connector on the new panel, ensuring a secure and precise fit. Double-check your work against your initial documentation to ensure every connection is accurate.
7. Testing & Verification: After completing the installation, test all functions related to the Magic Sky Control system, including opening and closing the sunroof, to verify proper operation. This step may involve checking for any error codes or utilizing diagnostic tools specific to Mercedes vehicles.
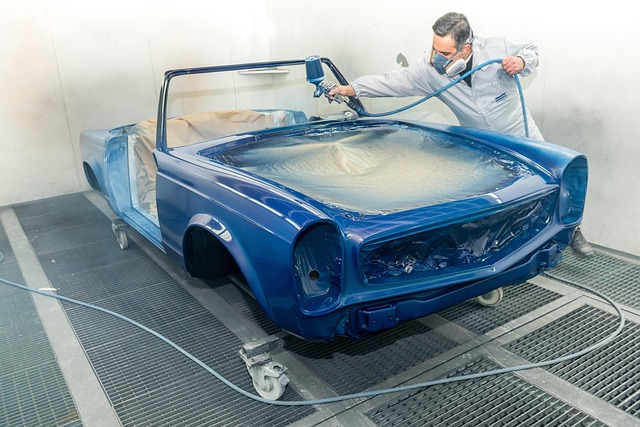
Remember that an auto glass replacement might be required if the damage extends beyond the control panel itself, emphasizing the importance of a thorough inspection from a qualified professional.
Testing and Final Adjustments After Completing the Mercedes Magic Sky Control Repair

After completing the Mercedes Magic Sky Control repair, it’s crucial to conduct thorough testing to ensure the system functions optimally. This involves simulating various driving conditions and checking for any anomalies in the control unit. Advanced diagnostic tools can help identify minor issues that might have been overlooked during the repair process. Once the testing is satisfactory, final adjustments are made to calibrate the system perfectly, ensuring a seamless experience for the vehicle’s occupants.
A key aspect of this process is verifying that all components work in harmony—from the sun sensors to the actuators—to effectively control the glass roof. This meticulous step guarantees that the Mercedes Magic Sky Control repair not only fixes existing problems but also enhances the overall performance, providing drivers with the ultimate control over their vehicle’s interior environment, much like a sophisticated autobody repairs specialist refining a bumper repair to perfection.
Starting a Mercedes Magic Sky Control repair involves careful assessment, acquiring the right parts, and meticulous follow-through. By systematically replacing the control panel and making final adjustments, you can ensure your vehicle’s sunroof operates smoothly again. Remember, proper diagnosis and attention to detail are key to a successful Mercedes Magic Sky Control repair.