

Start with a thorough assessment of your vehicle's rear window to identify cracks and chips, even minor ones. Choose a high-quality rear window repair kit specific to your car model for effective fixes. Follow a methodical process: prepare, apply injection mold, inject compound, cure, sand, and finish with clear coat for long-lasting results.
“Enhance your vehicle’s safety and aesthetics with our advanced tips on rear window repair. Learn how to effectively assess damage, choose the right repair kit, and master the step-by-step process of filling and polishing chips and cracks. Discover a comprehensive guide tailored for DIY enthusiasts and professionals alike. Optimize your rear window’s clarity and integrity with our expert advice, ensuring a seamless and durable fix.”
- Assessing Damage: Spotting Cracks and Chips
- Choosing the Right Repair Kit: A Comprehensive Guide
- Step-by-Step: Effectively Filling and Polishing Your Rear Window
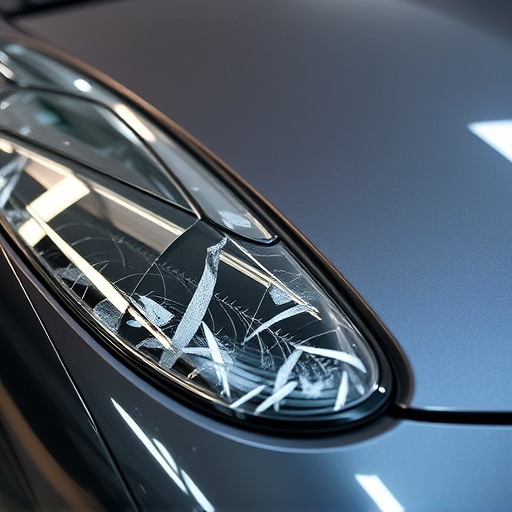
Assessing Damage: Spotting Cracks and Chips
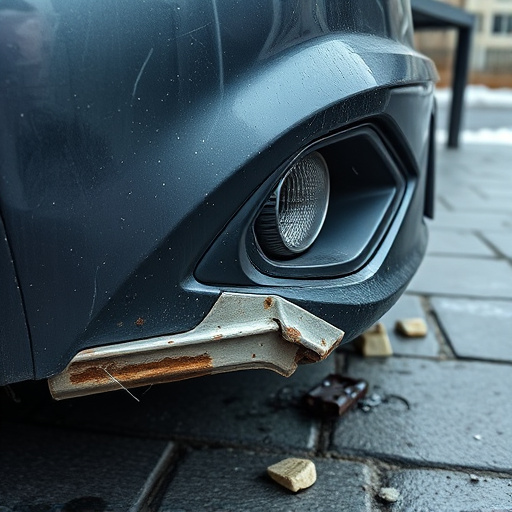
When it comes to rear window repair, the first step is meticulous assessment of the damage. Cracks and chips in your vehicle’s rear glass can range from minor nuisances to significant safety hazards, depending on their size and location. Look for any visible cracks or breaks in the glass, focusing on areas prone to damage like the edges and corners. Even small chips can compromise structural integrity and visibility, so don’t overlook them. Use a flashlight or bright light to inspect your rear window thoroughly, checking for subtle cracks that might be harder to spot with the naked eye. Remember, early detection is key— addressing these issues promptly will prevent further damage and ensure safer driving conditions.
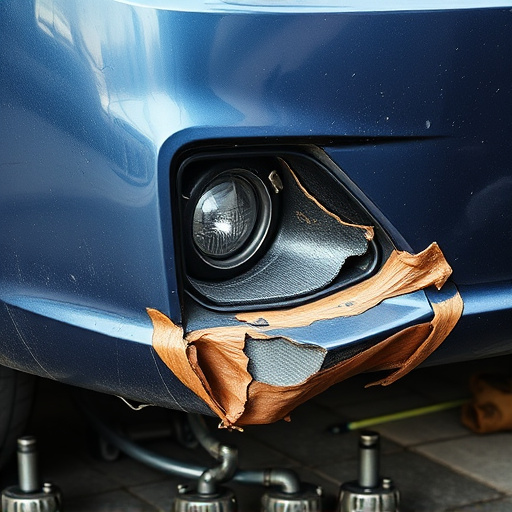
Understanding the extent of the damage is crucial before deciding on the best course of action, whether it involves a simple chip repair or a complete mercedes benz repair for more severe cases resembling collision damage repair. Don’t hesitate to consult with professionals specializing in bumper repair or rear window replacement if you’re unsure about the severity of the damage.
Choosing the Right Repair Kit: A Comprehensive Guide
When it comes to rear window repair, selecting the right repair kit is a crucial first step. It’s important to note that not all kits are created equal; each vehicle and damage scenario is unique. Therefore, consider your specific needs before making a purchase. Look for kits designed specifically for your car model, as these will include the necessary parts and tools tailored to fit your rear window perfectly.
Comprehensive repair kits should include a mix of adhesive, sealing compounds, replacement parts (if needed), and detailed instructions. Ensure that the kit is from a reputable brand known for quality auto repair services. Additionally, checking online reviews from customers who have successfully used similar kits on their fender benders can provide valuable insights. The right repair kit will make the difference between a temporary fix and a long-lasting, professional-grade rear window repair.
Step-by-Step: Effectively Filling and Polishing Your Rear Window
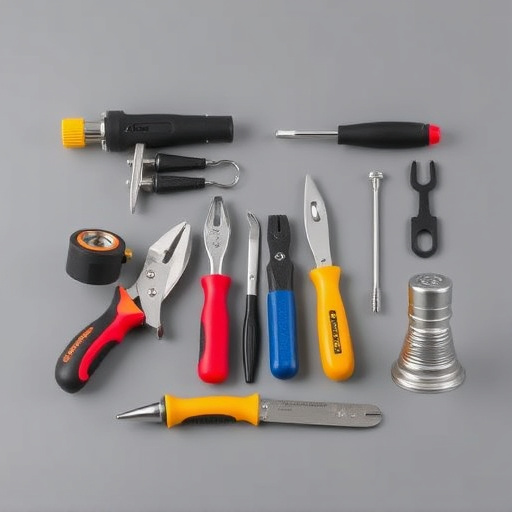
Repairing your rear window involves a meticulous process to ensure both functionality and aesthetics are restored. Begin by gathering the necessary tools and materials: a high-quality repair kit, including an injection mold for filling cracks, a clear coat for polishing, and protective gear. First, prepare the area around the damage, removing any debris or dirt using a soft cloth and compressed air. Then, apply the injection mold along the crack, ensuring a tight seal to prevent further damage.
Once the mold is in place, activate the repair compound as per the manufacturer’s instructions, typically by mixing two components. Inject this mixture into the cracked area, gently pressing it into any voids or gaps. Let the compound cure according to the recommended time frame. After curing, carefully remove the mold, and using a fine-grit sandpaper, lightly buff the repaired area until smooth. Finally, apply a thin layer of clear coat to match your vehicle’s original finish, ensuring an even, glossy surface that blends seamlessly with the rest of the rear window.
Rear window repair is a skill that can significantly enhance your vehicle’s safety and aesthetics. By understanding how to assess damage, selecting the right repair kit, and following a meticulous step-by-step process, you can effectively restore your rear window to its original condition. These advanced tips empower you to take control of repairs, ensuring both functionality and longevity for your vehicle’s crucial rear window.