


Tesla wraps offer protection and customization but fade over time due to UV exposure and environmental factors. Regular maintenance, including DIY wrap repair using proper tools and Tesla's genuine films, is crucial for preserving aesthetic appeal and surface protection. Follow a detailed process: clean, sand, fill, adhere, and polish for seamless results.
Looking to restore your Tesla’s faded or discolored wraps? This comprehensive guide is your go-to resource. We’ll walk you through understanding the causes of wrap fading and discoloration, the essential tools and materials for a successful repair, and a detailed step-by-step process. By following these expert tips, you’ll achieve a like-new look for your Tesla’s wraps, ensuring it stands out on the road. Learn how to tackle this task effectively with minimal effort and maximize the value of your electric vehicle.
- Understanding Tesla Wrap Fading and Discoloration
- Tools and Materials for Repair Process
- Step-by-Step Guide to Effective Wrap Restoration
Understanding Tesla Wrap Fading and Discoloration
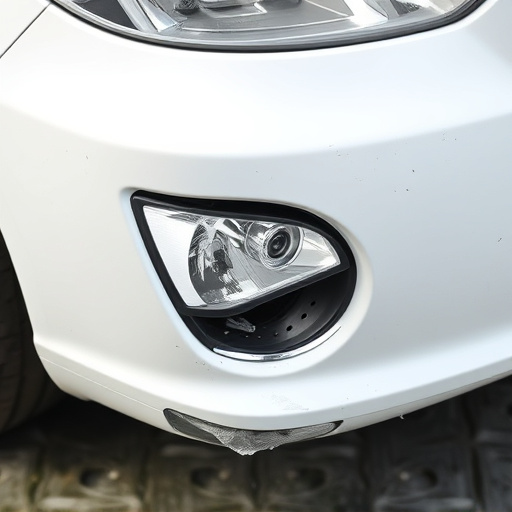
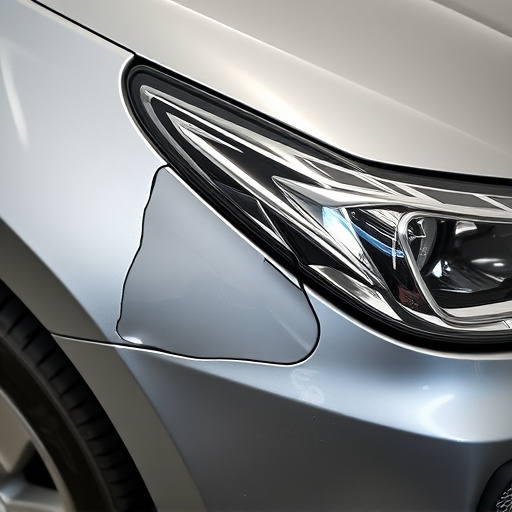
Tesla wraps are known for their sleek, protective exterior, but like any material, they can suffer from fading and discoloration over time. This is often due to prolonged exposure to UV rays from the sun, which can break down the paint and coating, leading to unsightly spots. These issues aren’t just cosmetic; they can also compromise the vehicle’s overall protection against scratches, chips, and other forms of damage.
Several factors contribute to Tesla wrap fading and discoloration, including but not limited to environmental conditions, washing techniques, and even the quality of the initial installation. Unlike traditional paint jobs, wraps are designed for versatility and easy removal, making them popular choices for custom styling. However, this very nature means they may require more frequent attention and specialized car repair services, such as Tesla wrap repair, to maintain their appearance and effectiveness.
Tools and Materials for Repair Process
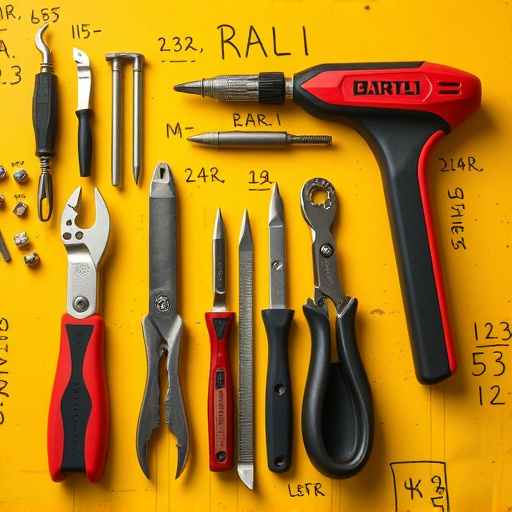
For a Tesla wrap repair, the right tools and materials are essential to achieving a seamless finish that matches the vehicle’s original look. This involves gathering specific items designed for precision work and material application. In terms of tools, a set of high-quality tweezers is crucial for handling small components and removing any debris or faded remnants. Additionally, a microblade or precision knife ensures clean cuts when shaping the wrap to fit around curves and corners. A degreaser and isopropyl alcohol are also needed to properly prepare the surface, eliminating any oils or impurities that could compromise adhesion.
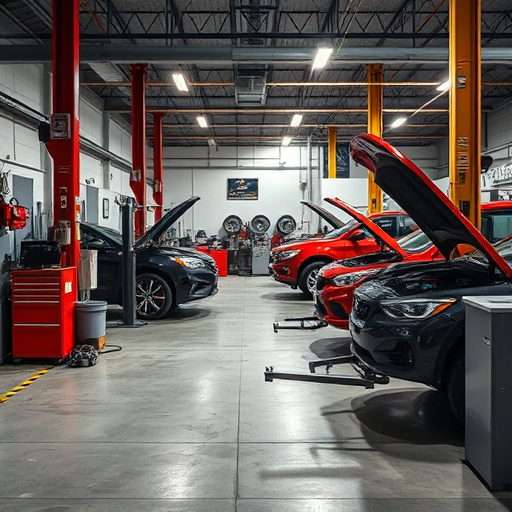
Materials-wise, Tesla recommends using their genuine wrap films for optimal compatibility and durability. These wraps come in various colors and finishes, allowing for a perfect match with your vehicle’s current aesthetic. Adhesives specifically formulated for car wraps ensure strong bonding while maintaining flexibility. Moreover, a high-quality applicator card helps in smoothing out the wrap, removing air bubbles, and achieving a crisp finish. Unlike a visit to a frame straightening or vehicle body shop, having these tools on hand empowers you to conduct basic Tesla wrap repairs yourself, saving time and potentially enhancing your car’s appearance.
Step-by-Step Guide to Effective Wrap Restoration
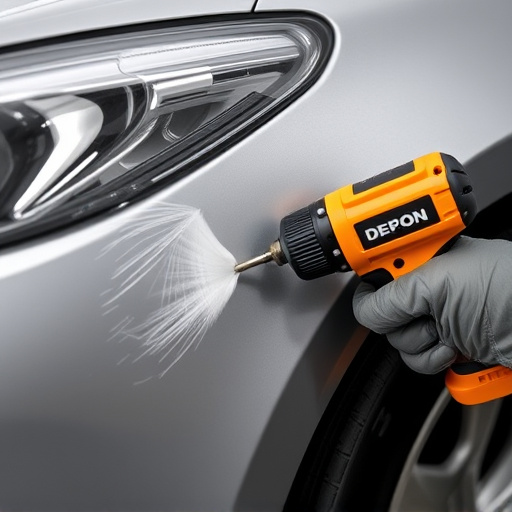
Repairing faded or discolored spots on a Tesla wrap involves a meticulous process known as wrap restoration. Here’s a step-by-step guide to help you achieve effective results, ensuring your vehicle’s exterior looks as good as new. First, gather the necessary tools and materials, including a high-quality wrap repair kit with color-matched adhesives and fillers, microfiber cloths, and a polishing compound. Begin by thoroughly cleaning the damaged area using a dedicated car wash and decontaminant to remove any dirt or grime. Next, sand the surface gently to create a smooth base for restoration, taking care not to scratch the underlying material. After sanding, apply the color-matched filler to even out any imperfections, allowing it to dry completely. Once dry, use the repair kit’s adhesive to secure a piece of wrap material over the filled area, pressing firmly for a seamless finish. Finally, polish the restored section with the compound and microfiber cloths until the texture matches the surrounding wrap, revealing a restored, like-new appearance.
Tesla wrap repair is a viable solution for restoring your vehicle’s exterior. By understanding the causes of faded or discolored spots and utilizing the right tools and materials, you can effectively revive the vibrant finish of your Tesla. Following a step-by-step guide ensures thorough cleaning, removal of damaged wrap layers, and meticulous reapplication, resulting in a like-new appearance. With these steps, you can take control of maintaining your Tesla’s stunning aesthetic.