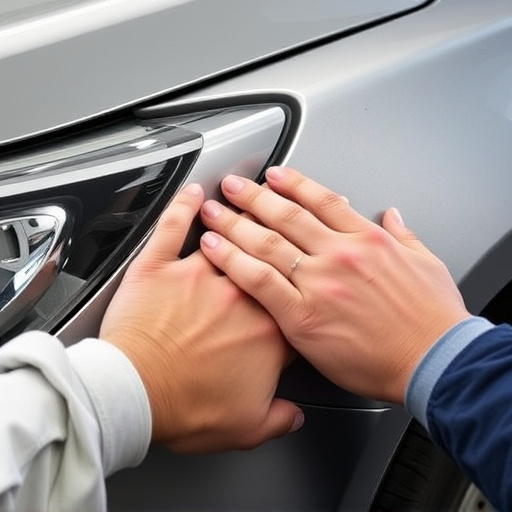


The Tesla Impact Sensor is a vital component for collision safety and repair. Replacing it requires careful preparation, precise installation, and adherence to Tesla's fastening torque specs. Park on a level surface, disconnect the sensor, install the new one securely, test its operation, and follow Tesla guidelines for optimal performance and structural integrity during replacement.
Considering a Tesla impact sensor replacement? You’re not alone. These sensors play a critical role in active safety systems, detecting collisions and triggering airbags. This guide walks you through the process, from understanding the sensor’s functions to fastening torque specs. We’ll break down each step for a seamless, safe replacement, ensuring your Tesla remains a force of protection on the road. Learn about the proper torque specifications and essential precautions for a successful, reliable impact sensor replacement.
- Understanding Tesla Impact Sensor Functions
- Step-by-Step Replacement Guide
- Fastening Torque Specs and Precautions
Understanding Tesla Impact Sensor Functions
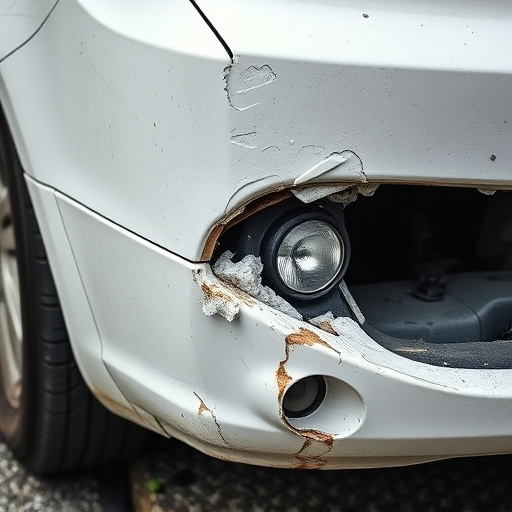
The Tesla Impact Sensor, a crucial component in modern electric vehicles, plays a vital role in enhancing safety features and collision repair services. These sensors are designed to detect rapid changes in velocity, acting as the eyes of the vehicle’s advanced driver-assistance systems (ADAS). When a sudden impact or collision occurs, the sensor swiftly conveys this data to the vehicle’s computer, triggering appropriate responses like deploying airbags or adjusting brake systems.
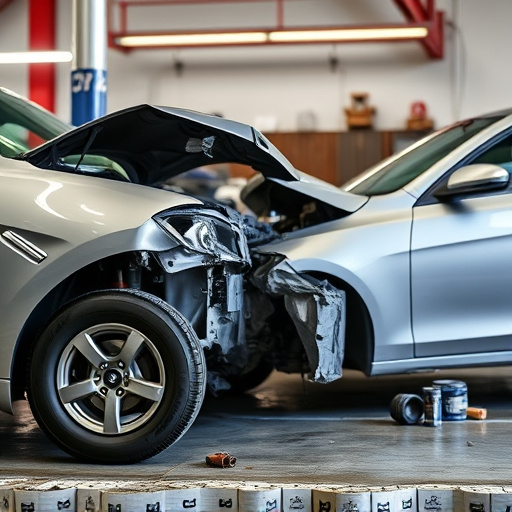
In the event of damage or malfunction, Tesla impact sensor replacement becomes an essential service in automotive body shops. Given the intricate nature of electric vehicles’ safety mechanisms, proper installation and tightening torque specs are critical. Collision repair services specializing in Tesla vehicles must adhere to precise fastening torque specifications to ensure the sensors operate flawlessly, maintaining the vehicle’s overall safety and performance capabilities.
Step-by-Step Replacement Guide

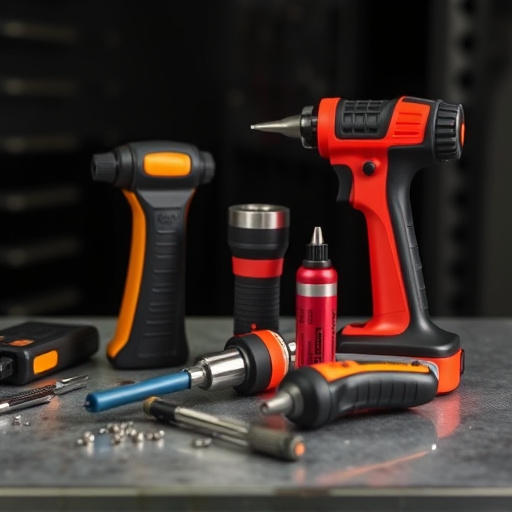
Replacing a Tesla impact sensor is a crucial process that requires precision and the right tools to ensure optimal performance. Here’s a step-by-step guide for an efficient and effective Tesla impact sensor replacement:
1. Safety First: Park your Tesla on a level surface and engage the parking brake. Ensure the vehicle is cool to touch, especially around the sensors, as hot components can lead to inaccurate readings during installation. Protect yourself by wearing safety gear, including gloves and eye protection.
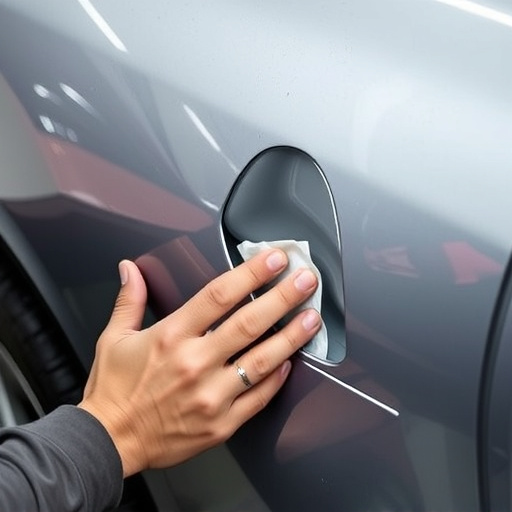
2. Accessing the Sensor: Locate the impact sensor, typically found in the front or rear of the vehicle. Use a vehicle repair manual for reference if needed. Remove any cover or trim surrounding the sensor to expose it fully.
3. Dismantling Process: Depending on your Tesla model, you might need to detach wires and brackets holding the sensor in place. Be cautious not to damage nearby components or wires during this step.
4. Sensor Replacement: Carefully lift out the old impact sensor and install the new one, ensuring it’s securely fitted. Double-check that all electrical connections are properly reattached. For a seamless fit, you might need to adjust or tighten any fastening torque as per your vehicle’s specification – remember, too much torque can be damaging, so adhere to the Tesla car repair services guidelines for the best results.
5. Final Checks: Once installed, test the new sensor to ensure it operates correctly and provides accurate data. This step is crucial, especially for ensuring proper car scratch repair or frame straightening processes later if needed.
Fastening Torque Specs and Precautions

When replacing a Tesla impact sensor, understanding the fastening torque specs is paramount to ensure optimal performance and structural integrity. Tesla provides precise guidelines for each component, which must be followed meticulously. Exceeding or falling short of these specifications can compromise the sensor’s effectiveness during collision damage repair or hail damage repair scenarios.
Precautions include using the correct torque wrench and following the manufacturer’s instructions regarding fastening sequence and material compatibility. It is crucial to avoid over-tightening, which could lead to component damage, or under-tightening, resulting in loose connections that may cause malfunction or even detaching of parts during high-speed operation. Always refer to Tesla’s official guidelines for the most accurate and up-to-date information regarding your specific model.
Replace your Tesla impact sensor with confidence by following our step-by-step guide. Understanding the vital role of this component in your vehicle’s safety system is key, as is adhering to the precise fastening torque specs outlined. With these simple procedures and some basic tools, you’ll be back on the road in no time, ensuring your Tesla remains a cutting-edge, safe choice for years to come. For any Tesla impact sensor replacement needs, refer to our comprehensive guide for a seamless experience.