


Mercedes rear entertainment repair ensures a sophisticated in-car experience. Issues like faulty displays or distorted audio require specialized services for precise troubleshooting and efficient solutions. This guide provides a systematic approach to repairing cables, emphasizing safety and ensuring optimal system functionality and longevity through careful removal, replacement, re-routing, and testing.
Looking to fix that flickering or non-functional Mercedes rear entertainment system? You’ve come to the right place. This guide breaks down the process of replacing cables in your Mercedes’ complex entertainment systems. We’ll first demystify these sophisticated in-car infotainment centers, then guide you through identifying cable problems and offer a detailed, step-by-step repair manual. By the end, you’ll be equipped with the knowledge to restore your Mercedes’ rear entertainment system to its former glory.
- Understanding Mercedes Rear Entertainment Systems
- Diagnosing Cable Issues in Your System
- Step-by-Step Guide to Replacing Cables
Understanding Mercedes Rear Entertainment Systems

Mercedes rear entertainment systems are sophisticated in-vehicle infotainment packages designed to provide passengers with a premium viewing and listening experience during travel. These systems often include high-definition screens, advanced audio setups, and connectivity options that allow users to enjoy movies, games, or listen to music while seated comfortably in the backseat. Understanding how these systems work is crucial for anyone considering Mercedes rear entertainment repair. The process involves more than just replacing cables; it requires a deep knowledge of electronic components, software interfaces, and integration with other vehicle systems like navigation and climate control.
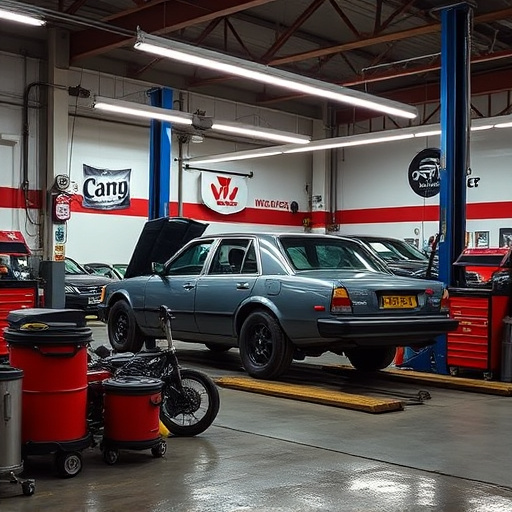
When issues arise, such as faulty displays or distorted audio, owners may initially think of visiting a collision center or auto repair shop for solutions. However, car repair services that specialize in Mercedes rear entertainment repair offer the advantage of precise troubleshooting and expert technician skills, ensuring that any repairs are done efficiently and effectively. This is particularly important due to the intricate nature of these systems, which, when malfunctioned, can disrupt not just entertainment but also the overall driver and passenger experience.
Diagnosing Cable Issues in Your System

If your Mercedes rear entertainment system isn’t functioning optimally, diagnosing the issue is the first step towards effective Mercedes rear entertainment repair. Start by examining the cables for any visible damage. Frayed or exposed wires are a common indicator of wear and tear, especially if the system is older. Check for loose connections at both ends of each cable; a simple reconnected wire could fix minor issues.
If you’re not comfortable performing these checks yourself, consider seeking help from a professional. They can perform more in-depth diagnostics using specialized tools to identify problems, whether it’s a damaged cable, faulty connectors, or an issue with the entertainment unit itself. Remember, proper car body repair extends beyond aesthetics; ensuring your rear entertainment system works seamlessly contributes to a safer and more enjoyable driving experience.
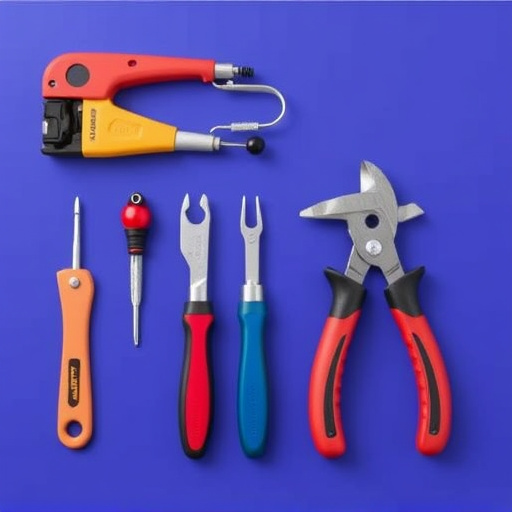
Step-by-Step Guide to Replacing Cables

Replacing cables in a Mercedes rear entertainment system involves a systematic approach to ensure optimal functionality and longevity of your vehicle’s infotainment features. Here’s a step-by-step guide for Mercedes rear entertainment repair:
1. Safety First: Begin by disconnecting the car battery to avoid any electrical hazards. This is crucial, as working with electronics requires a safe environment. Next, carefully remove the existing entertainment system from its housing, taking note of how it’s attached and routed.
2. Identify Damaged Cables: Inspect each cable connected to the system, looking for signs of wear, fraying, or damage. These could be caused by car damage repair instances like minor fender benders or rough handling during installation or removal of the system. Once identified, prepare to replace the affected cables.
3. Obtain Replacement Cables: Ensure you get exact replacements tailored for your Mercedes model. Incorrect cable specifications might lead to malfunction or incompatibility issues. This can often be sourced from authorized dealerships or reputable automotive repair services.
4. Re-route and Reconnect: With new cables at hand, carefully re-route them, considering their original path. Securely reconnect each cable to its corresponding terminal, ensuring a tight fit. Pay close attention to the order of connections as per your vehicle’s manual.
5. Test and Adjust: After reassembling, test the system thoroughly to ensure all functions operate seamlessly. If any issues persist, double-check connections and cable routing, addressing any potential misalignments or loose ends.
Upgrading or repairing your Mercedes rear entertainment system is a feasible task with the right knowledge. By understanding your system, diagnosing cable issues accurately, and following a detailed step-by-step guide, you can successfully replace cables and enhance your vehicle’s infotainment experience. Remember, proper care and maintenance of your Mercedes’ entertainment components contribute to a smoother, more enjoyable ride for both you and your passengers. For any complex repairs, consider seeking professional assistance to ensure the job is done correctly. With these tips in mind, embark on your journey to optimize your Mercedes rear entertainment repair or upgrade.