


Windshield calibration ensures vehicle safety and visibility by adjusting windshield position and alignment to factory specs. Requires specialized software, equipment, and preparation. Involves connecting devices, precise alignment, testing, and verification using manufacturer guidelines for modern vehicles' ADAS features.
Discover the crucial step-by-step guide to performing windshield calibration on modern vehicles. In today’s digital age, a precise windshield calibration is essential for optimal driving experience and safety. This comprehensive article breaks down the process into three simple sections: understanding the basics, gathering necessary tools, and executing the calibration process with ease. Master these steps, and ensure your vehicle’s advanced driver-assistance systems function at their best. Learn how to navigate this vital maintenance task effortlessly.
- Understand Windshield Calibration Basics
- Gather Tools and Prepare Your Vehicle
- Perform Step-by-Step Calibration Process
Understand Windshield Calibration Basics
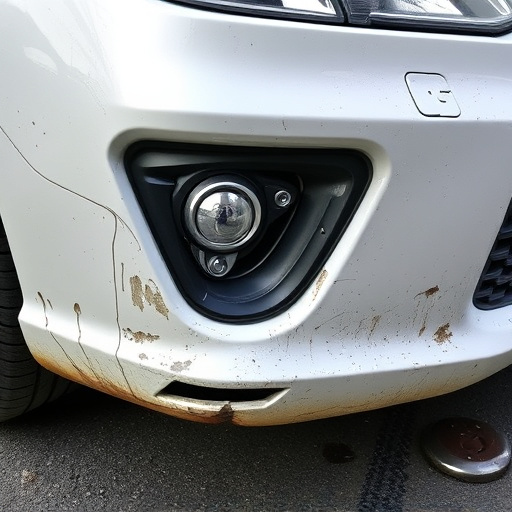
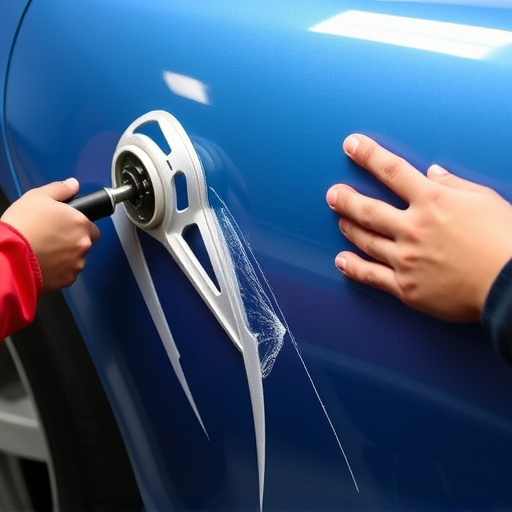
Windshield calibration is a critical process that ensures your vehicle’s front glass provides optimal visibility and safety. It involves adjusting the position and alignment of your windshield to factory specifications, accounting for any variations due to manufacturing or damage. This meticulous task is particularly important in modern vehicles, where advanced driver-assistance systems (ADAS) rely on accurate windshields for features like lane departure warning and adaptive cruise control.
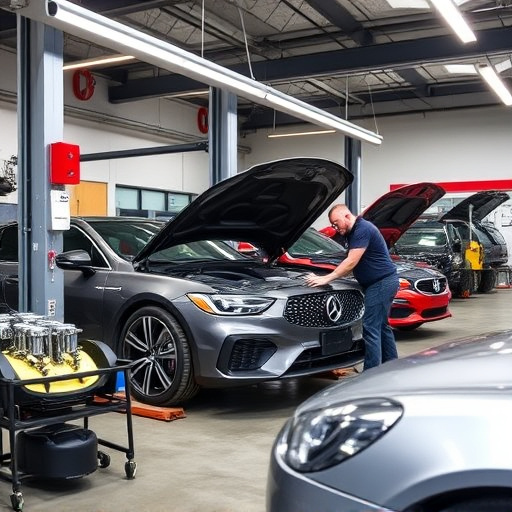
In a collision repair shop or car bodywork services facility, technicians use specialized equipment to perform this calibration. They begin by assessing the windshield’s alignment, using precise measurements and 3D scanning technology to detect even the slightest misalignments. Once identified, auto body repairs are made, whether it’s adjusting the glass, replacing damaged components, or realigning the entire assembly. The goal is to restore the windshield to its original factory-set parameters, ensuring clear, unobstructed views for enhanced driver safety and confidence.
Gather Tools and Prepare Your Vehicle
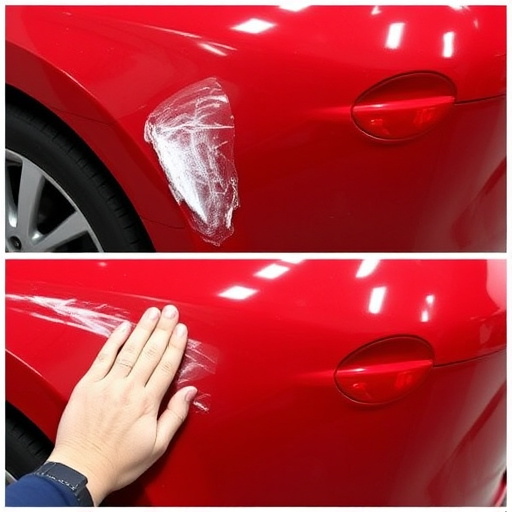
Before you begin windshield calibration, ensure you have all the necessary tools at hand, as this process demands precision and the right equipment. You’ll need specialized software, a calibration device that’s compatible with your vehicle’s system, and cleaning supplies to prepare the glass surface. Make sure your car is parked in a well-lit area, and the windshield is free from any defects like cracks or chips—a pristine surface is crucial for accurate results. Remove any wiper blades or covers, and inspect the windshield for any debris or dirt that could interfere with the calibration process. A clean and clear view is essential for achieving optimal calibration settings during your car’s collision repair or routine maintenance.
Perform Step-by-Step Calibration Process
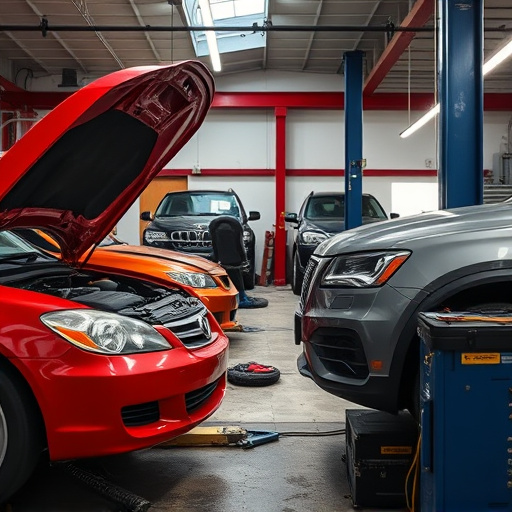
Performing windshield calibration on modern vehicles is a precise process that ensures optimal visual clarity and driver safety. Start by preparing your work area; ensure the vehicle is parked securely, and all necessary tools are readily available. Next, power on the calibration equipment and connect it to the vehicle’s diagnostic port, which can usually be found beneath the steering wheel.
Follow the step-by-step calibration process:
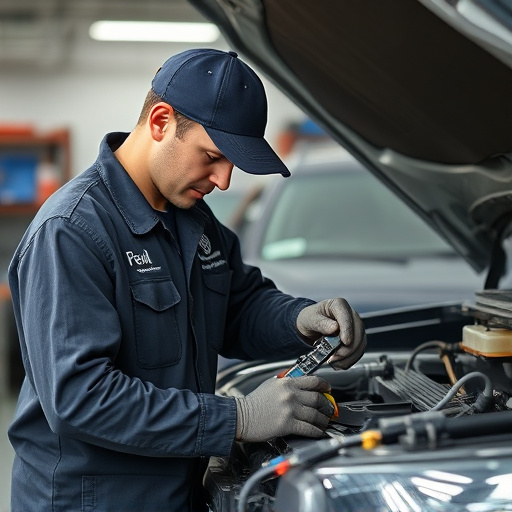
1. Initiate Calibration: Launch the calibration software and select the appropriate vehicle model from the menu. This ensures precise settings for your specific make and year.
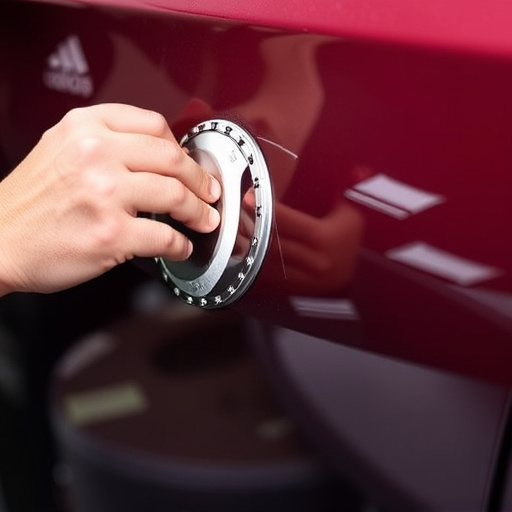
2. Align Sensors: Position the calibration sensors on the windshield according to the manufacturer’s guidelines. These sensors will detect any deviations or imperfections in the glass.
3. Calibrate: Proceed with the calibration sequence, which involves a series of tests to measure and adjust the windshield’s curvature and optical properties. The equipment will provide real-time feedback, allowing you to make adjustments if needed.
4. Verify Results: Once the calibration is complete, review the results on the screen. Ensure all measurements are within acceptable tolerances. If any deviations are noted, repeat the process until optimal calibration is achieved. This step is crucial for ensuring the highest level of safety and visual accuracy during driving.
Windshield calibration is a crucial process for ensuring optimal display performance on modern vehicles. By understanding the basics, gathering the necessary tools, and following a step-by-step process, you can accurately calibrate your vehicle’s windshield. This simple yet vital procedure not only enhances driver safety but also contributes to a more enjoyable and clear visual experience while navigating. Remember, regular calibration is key to maintaining the integrity of your dashboard’s functionality.