


To successfully repair rain sensor glass on vehicles, begin by cleaning and thoroughly drying the surface with distilled water and microfiber cloth. Use specialized auto adhesives designed for strong bonding and environmental resistance. Evenly distribute adhesive with clean tools, ensuring no streaks using a level or cardboard for optimal aesthetics and sensor functionality.
“Mastering the art of applying sensor-friendly adhesive is crucial for successful rain sensor glass repair. This step-by-step guide equips you with the knowledge to achieve precision and avoid common errors. From preparing the surface by cleaning and drying it thoroughly to selecting the right adhesive compatible with your sensors, we explore essential techniques. Learn effective methods to apply adhesive evenly, preventing bubbles and cracks for long-lasting, seamless repairs.”
- Prepare Surface: Clean and Dry for Adhesion
- Choose Right Adhesive: Compatibility Matters
- Apply Evenly: Techniques to Avoid Bubbles and Cracks
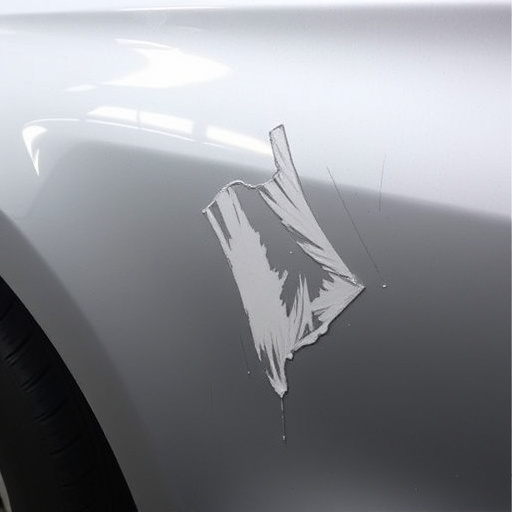
Prepare Surface: Clean and Dry for Adhesion
Before applying any sensor-friendly adhesive, ensuring the surface is clean and dry is paramount for successful rain sensor glass repair. Start by thoroughly wiping down the area with a microfiber cloth dampened with distilled water. Remove any visible debris, dust, or oil residue that could hinder adhesion. It’s crucial to use deionized water if possible to avoid leaving behind any mineral deposits that might impact the adhesive’s strength.
For car damage repair and autobody repairs involving rain sensors, achieving a completely dry surface is essential. Allow enough time for the surface to air dry or use an industrial-strength hairdryer on a low heat setting to expedite the process. This step cannot be skipped, as moisture can compromise the integrity of the adhesive bond, leading to premature failure and necessitating costly car paint services down the line.
Choose Right Adhesive: Compatibility Matters
When repairing rain sensors or glass on vehicles, choosing the right adhesive is paramount. Compatibility issues can lead to poor bonding and eventual sensor malfunction, so selecting an adhesive designed for automotive applications is crucial. Look for products specifically formulated for rain sensor glass repair, as these will have the necessary properties to withstand environmental stresses and maintain signal integrity.
Avoid using adhesives intended for general fender repair or other non-automotive uses, as they may not meet the stringent requirements of vehicle repair. Auto repair services often rely on specialized adhesives that offer superior strength, flexibility, and resistance to temperature fluctuations—all essential factors for ensuring a durable and reliable rain sensor glass fix.
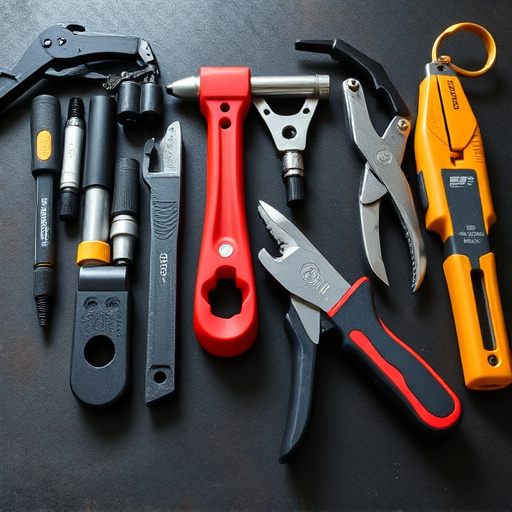
Apply Evenly: Techniques to Avoid Bubbles and Cracks
When applying sensor-friendly adhesive for rain sensor glass repair, one of the key techniques to ensure a successful and error-free process is to distribute the adhesive evenly. This meticulous step goes a long way in preventing unsightly bubbles and cracks that could compromise the integrity of the repair. To achieve this, start by ensuring your tools are clean and free from debris. Use a thin, flat applicator to spread the adhesive in even layers, moving in one direction to avoid streaks. Work slowly and carefully, especially around the edges, where bubbles are more likely to form.
Another effective method is to use a level or a piece of cardboard to ensure the adhesive stays flat. This simple trick helps you catch any uneven spots immediately. Remember, a seamless application not only enhances the aesthetics but also guarantees optimal sensor functionality. Whether you’re tackling a car bodywork or bumper repair, these techniques will prove invaluable in achieving a durable and high-quality finish at your local auto repair shop.
Applying sensor-friendly adhesive for rain sensor glass repair requires a methodical approach. By preparing the surface meticulously, selecting the compatible adhesive, and applying it evenly, you can significantly reduce errors and ensure long-lasting repairs. These simple steps will help you achieve professional results at home, keeping your vehicle’s sensors functioning optimally.