


Start with a thorough inspection of your Tesla splitter shield for damage and signs of previous repairs, especially in coastal areas prone to water and salt exposure. Invest in quality tools like a frame straightener and precision hand tools for DIY repairs or turn to professional collision services. To replace the shield, gather specialized tools, disassemble the old one, install the new with adhesive, and ensure proper curing before driving. For intensive cases, seek professional Tesla splitter shield repair assistance.
“Uncover the essential tools required for a successful Tesla Splitter Shield repair with this comprehensive guide. Whether you’re a seasoned technician or an enthusiastic DIYer, understanding the damage and the right tools is key. We’ll walk you through assessing the issue, from identifying cracks to determining the extent of the damage. Then, we’ll reveal the must-have tools for the job, ensuring a precise and effective repair. Get ready to restore your Tesla’s shield like new.”
- Assessing Damage: What to Look For
- Essential Tools for Repair
- Step-by-Step Guide: Shield Replacement
Assessing Damage: What to Look For

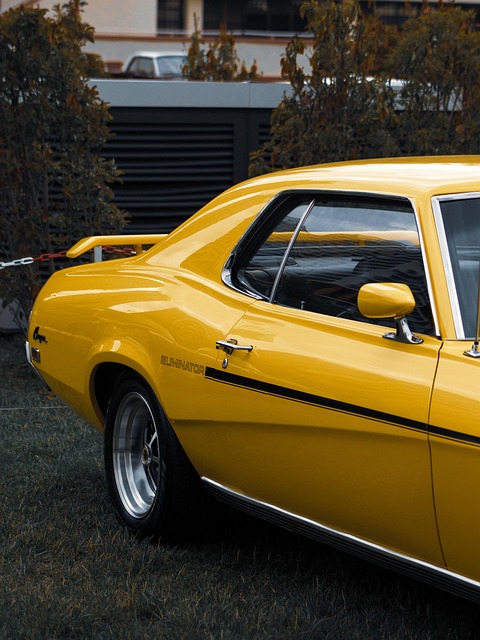
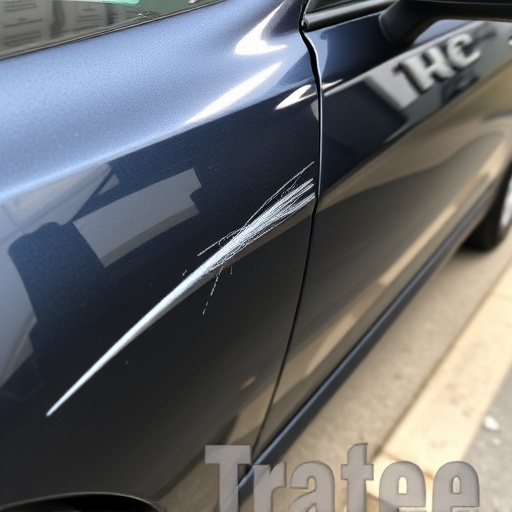
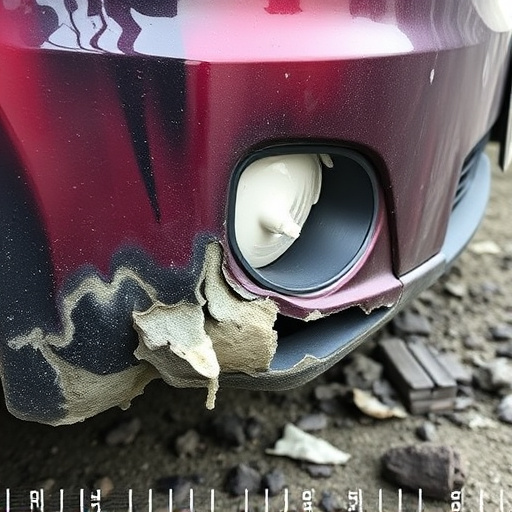
When undertaking Tesla splitter shield repair, the first step is a thorough assessment of the damage. Start by inspecting the plastic splitter shield for any cracks, chips, or breaks. These can often be visible and may be caused by impact from debris, curbs, or other objects. In some cases, the damage might be more subtle, such as dents or deformities that don’t immediately appear severe but could compromise structural integrity if left unaddressed.
Look for signs of previous repairs too, as these can indicate underlying issues. Rust spots or discolouration may suggest exposure to water or salt, common in coastal areas. Using a torch or bright light can help highlight these marks. Remember, early detection is key; addressing small dents and cracks promptly through dent repair techniques can prevent more extensive car collision repair later on.
Essential Tools for Repair

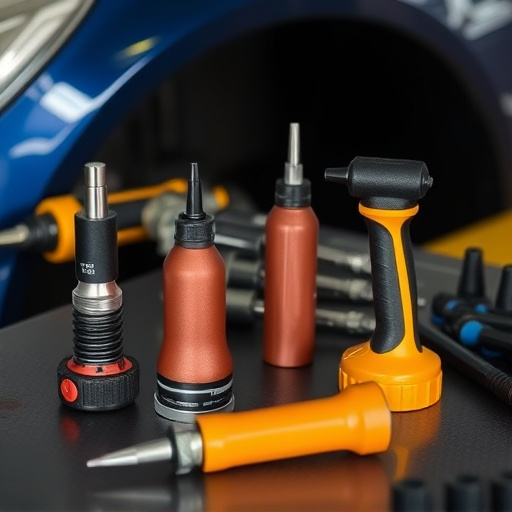
When it comes to Tesla splitter shield repair, having the right tools is essential for achieving a precise and durable fix. Firstly, consider investing in a high-quality frame straightening machine. This tool is crucial for realigning any warped or damaged components of the shield, ensuring a seamless fit once again. Additionally, a comprehensive set of precision hand tools, including pliers, screwdrivers, and hammers, will enable you to handle intricate disassembly and reassembly tasks with ease.
For more complex repairs, especially in cases where the shield has sustained significant impact or damage, consider utilizing services from a reputable collision repair shop. They possess the specialized equipment and skilled technicians required for effective car body repair, including advanced welding machines and computer-aided frame straightening technology. This option guarantees precise restoration of your Tesla’s splitter shield, ensuring both structural integrity and aesthetic appeal.
Step-by-Step Guide: Shield Replacement
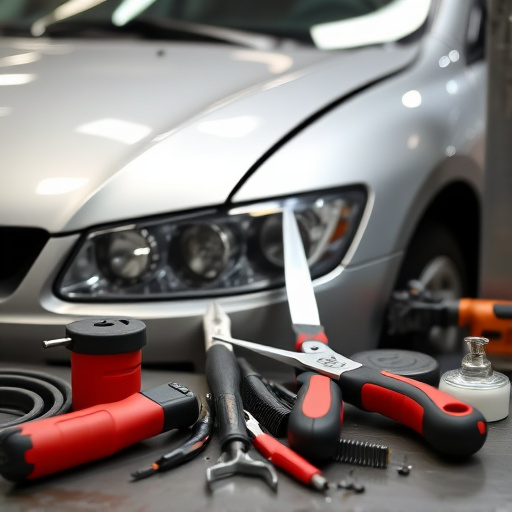
To replace a Tesla splitter shield, you’ll need several specialized tools tailored for Tesla vehicle repair. Start by gathering your materials, including a new splitter shield that’s an exact fit for your Tesla model, high-quality adhesives designed for automotive applications, and protective gear like gloves and safety glasses. Next, locate the damaged shield—often at the front of the vehicle, where the car’s body meets the road. The process involves careful disassembly: remove any retaining clips or bolts securing the shield in place using a torque driver.
Once exposed, gently lift out the old shield. Take note of how it was attached for reference when installing the new one. Clean the area thoroughly to ensure optimal adhesion. Apply adhesive along the edges of the new shield according to the manufacturer’s instructions. Carefully align and press the new shield into place, ensuring it fits perfectly. Allow the adhesive to cure as per recommended guidelines before driving your Tesla again, considering that some adhesives require a set drying time. This step-by-step approach ensures a successful Tesla splitter shield repair, preserving the vehicle’s aesthetic appeal while enhancing its structural integrity. For more intensive repairs like frame straightening or auto painting, consider professional assistance for optimal results in vehicle paint repair.
When it comes to repairing your Tesla’s splitter shield, having the right tools is essential. By following the steps outlined in this guide and utilizing the recommended tools for Tesla splitter shield repair, you can effectively address damage and restore your vehicle’s aesthetic appeal. Remember, proper assessment of the damage is key, so take your time and ensure you have everything needed before beginning the replacement process. With a bit of patience and these essential tools, you’ll be back on the road in no time with a like-new splitter shield.