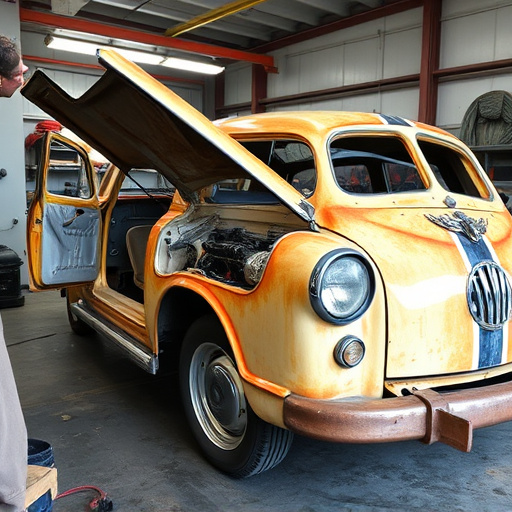


Tesla wrap repairs preserve your vehicle's unique finish (glossy, matte, satin) by fixing scratches and dents. Reputable collision centers guide the process, matching original finishes precisely. Essential tools include scissors, Tesla-compatible wrap film, clean cloth, isopropyl alcohol, heat gun or hair dryer; complex repairs may require glues and sealants. Proper preparation ensures a professional repair that maintains aesthetic integrity. The meticulous process involves: glove preparation, surface cleaning, cutting/trimming film, careful application, inspection, smoothing, and trimming excess wrap for a flawless result.
“Maintain your Tesla’s stunning finish with expert tips on Tesla wrap repair. This comprehensive guide tackles gloss, matte, and satin finishes, ensuring your vehicle stands out. Understanding wrap damage and knowing the types of finishes available is key. From preparing your workspace to step-by-step repair instructions, learn how to efficiently restore your Tesla’s protective layer. Discover the tools and materials needed for a flawless fix, keeping your car looking its best.”
- Understanding Tesla Wrap Damage and Types of Finishes
- Preparing for Repair: Tools and Materials Needed
- Step-by-Step Guide to Efficient Tesla Wrap Repair
Understanding Tesla Wrap Damage and Types of Finishes
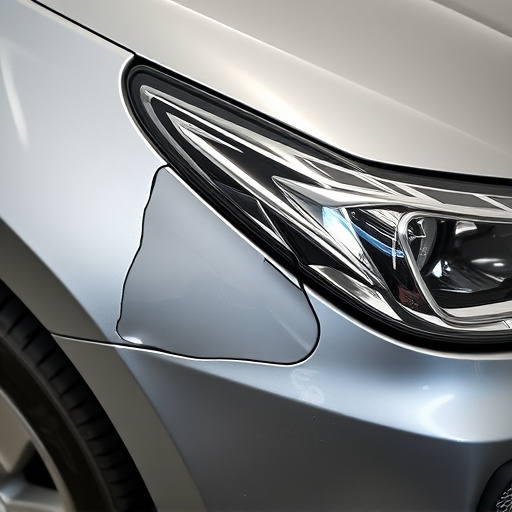
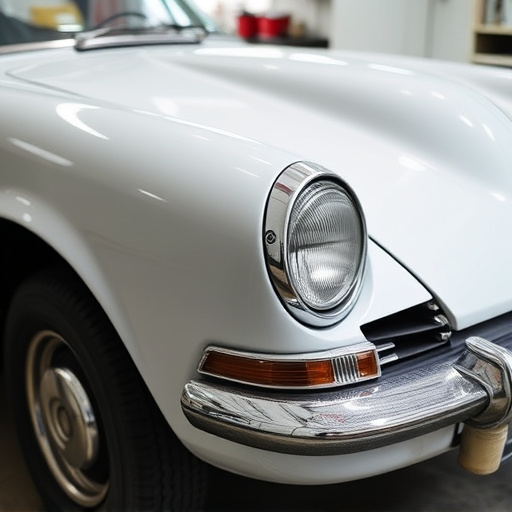
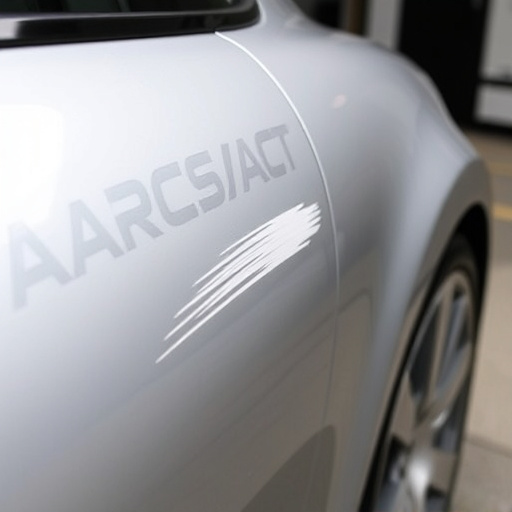
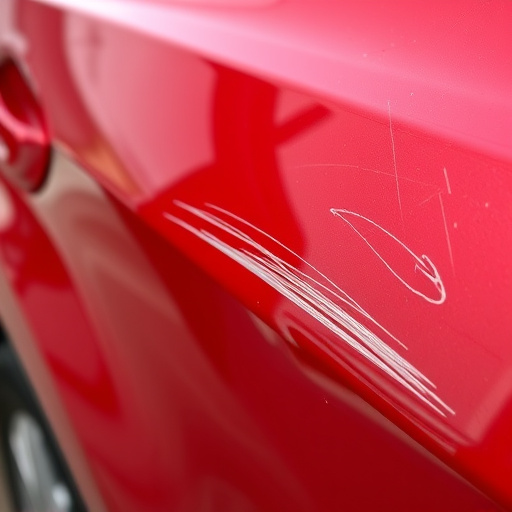
Tesla wrap repairs are crucial for maintaining your vehicle’s pristine finish, whether it boasts a glossy glow, a sleek matte texture, or a subtle satin sheen. Understanding the types of damage that can occur and the finishes Tesla offers is the first step in choosing the right repair method. Common issues include scratches, small dents, and clear coat imperfections that can affect any surface. Scratches can range from superficial lines to deeper gouges, while dents may be minor dings or more significant impacts that require professional attention.
Tesla offers a variety of finishes, each with its own unique characteristics. Glossy coats reflect light dramatically, creating a vibrant but delicate appearance. Matte finishes offer a smooth, non-reflective surface that’s low-maintenance and subtly hides imperfections. Satin finishes strike a balance between the two, providing a subtle sparkle without the need for constant polishing. For accurate Tesla wrap repair, knowing your vehicle’s original finish type is essential to achieving a flawless match. A reputable auto collision center will provide guidance throughout the process, ensuring your Tesla retains its stunning exterior.
Preparing for Repair: Tools and Materials Needed
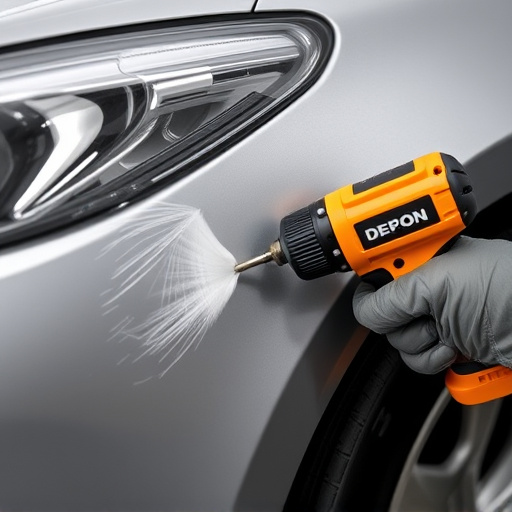
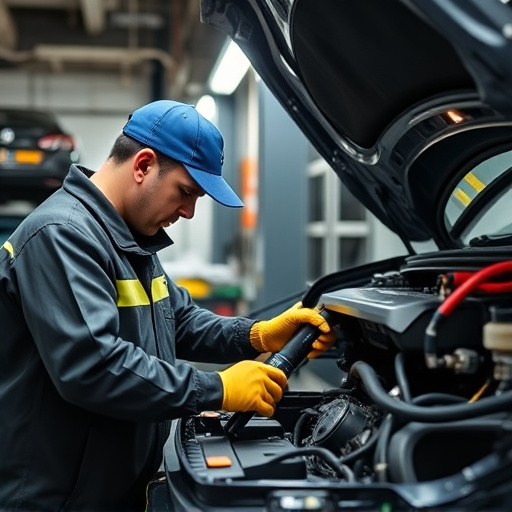
Before tackling Tesla wrap repair for any finish—gloss, matte, or satin—make sure you’re prepared with the right tools and materials. For a successful repair, gather a set of precision scissors or a utility knife, as well as high-quality wrap film specifically designed for Teslas (always check compatibility). Don’t forget to include a clean cloth for wiping down the surface, isopropyl alcohol for decontaminating the area, and a heat gun or hair dryer for warming up the wrap to ensure easy application.
For more advanced repairs, consider adding some automotive-grade glues and seam sealants to your kit. These will come in handy for securing edges and sealing any gaps. Remember, proper preparation is key—just like in auto repair services or car body restoration work—to achieve a professional finish that matches the vehicle’s original aesthetics, whether it’s for a glossy shine or a subtle satin texture.
Step-by-Step Guide to Efficient Tesla Wrap Repair
Tesla wrap repair is a specialized process that requires precision and expertise, especially for maintaining the vehicle’s aesthetics. Here’s a step-by-step guide to help you efficiently tackle the task:
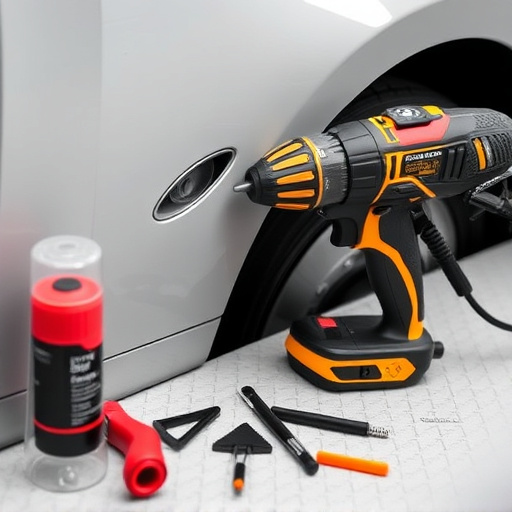
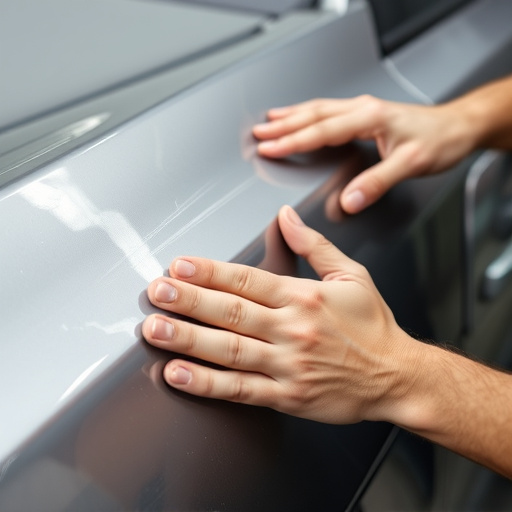
1. Preparation: Begin by gathering all necessary tools and materials, including the appropriate Tesla wrap film, applicator tools, and a clean, well-lit workspace. Ensure your hands are protected with gloves to prevent any contamination or damage to the wrap during application.
2. Surface Preparation: Before starting, thoroughly clean and prepare the damaged area of the vehicle. Remove any dirt, grease, or existing wraps by using specialized cleaners and decontaminants. A smooth, dust-free surface is crucial for achieving a professional finish. Consider using a car dent removal tool to fix minor dents or creases in the panel, ensuring the surface is as perfect as possible.
3. Cutting and Trimming: Measure and cut the Tesla wrap film according to your vehicle’s specifications. Use a sharp knife or scissors for precise cutting, taking care not to stretch or deform the wrap. Trim the edges carefully to match the contours of your car body, ensuring a seamless fit.
4. Application: Starting at one corner, apply the wrap tightly and smoothly over the damaged area using an applicator tool or your hands. Work methodically, removing any air bubbles as you go with a defoamer tool. Ensure complete coverage without gaps or overlaps. For complex shapes, use specialized tools to achieve crisp lines and precise curves.
5. Finishing Touches: Once the wrap is in place, carefully inspect for any imperfections. Adjust and smoothen out any wrinkles or bubbles using your fingers. Remove any residual debris or marks with a microfiber cloth. The final step involves trimming excess wrap from the edges, leaving a clean, professional finish that matches your vehicle’s original aesthetic—be it gloss, matte, or satin.
Tesla wrap repair is a specialized process that can restore your vehicle’s exterior to its original gloss, matte, or satin finishes. By understanding the types of damage and preparing with the right tools and materials, you’re well-equipped to tackle these repairs efficiently. Following a step-by-step guide ensures precise results, enhancing the overall appearance of your Tesla. Remember, prompt action on minor issues can prevent them from becoming major, costly repairs down the line.