
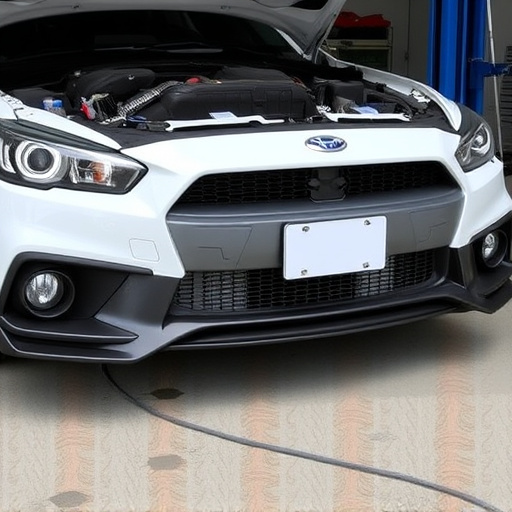
Proper surface preparation is essential for achieving a seamless clear coat finish in auto body repairs, including cleaning, debris removal, scraping, and sanding. Apply thin, consistent coats using a dedicated spray gun, maintaining a steady distance for uniform coverage, especially for fleet repairs. Adequate drying time prevents coating failures like peeling or blistering, ensuring an even, professional finish that adheres to manufacturer guidelines.
Avoiding common mistakes during clear coat application is essential for achieving a sleek, durable finish on your vehicle or project. This guide focuses on three critical aspects: preparing the surface properly to prevent bubbles and imperfections, using correct techniques for even coat distribution, and allowing adequate drying time to avoid coating failures. By adhering to these practices, you’ll ensure a professional-looking clear coat that stands the test of time.
- Prepare Surface Properly to Avoid Bubbles and Imperfections
- Use Correct Techniques for Even Coat Distribution
- Allow Adequate Drying Time to Prevent Coating Failures
Prepare Surface Properly to Avoid Bubbles and Imperfections
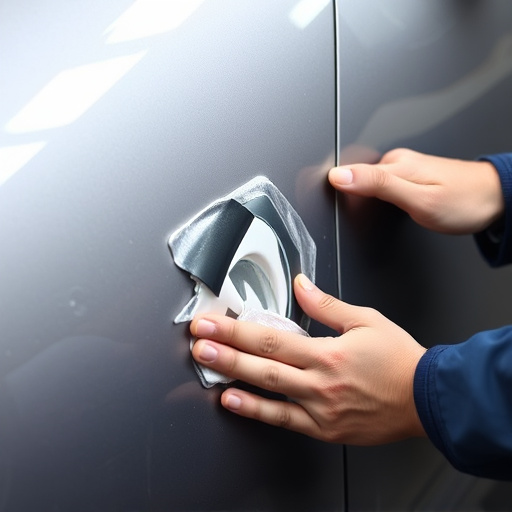
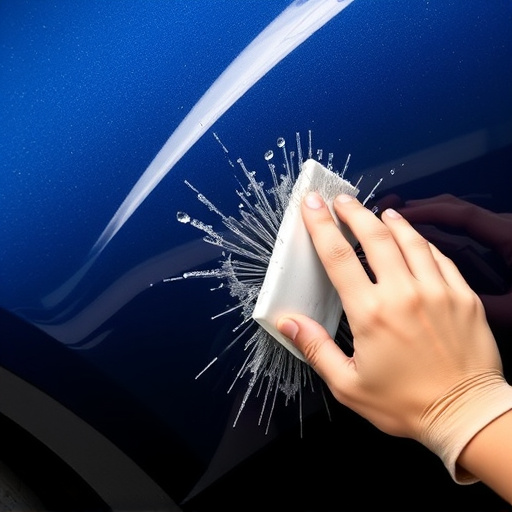
Before applying any clear coat, ensuring your surface is properly prepared is paramount to achieving a seamless finish. This involves thoroughly cleaning the area, removing any debris or dust, and inspecting for existing imperfections. A smooth base is essential; even tiny particles can cause bubbles or ridges in the final layer, leading to an unappealing look.
Scraping and sanding are crucial steps to create a level canvas for your clear coat. Using appropriate tools and techniques, you can get rid of any roughness or old paint residue. Remember that proper surface preparation is a fundamental aspect of not just clear coat application but also auto glass replacement, car paint repair, and vehicle restoration in general.
Use Correct Techniques for Even Coat Distribution
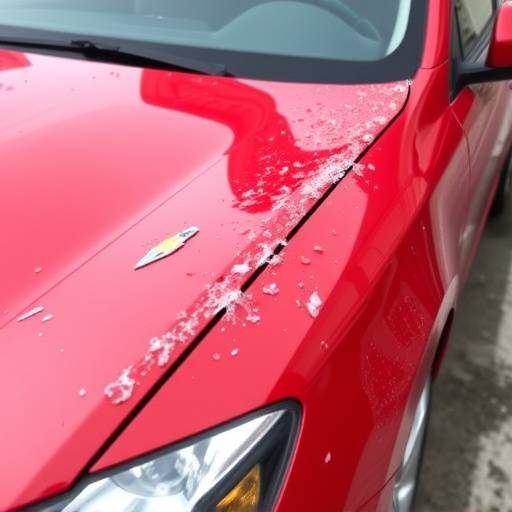
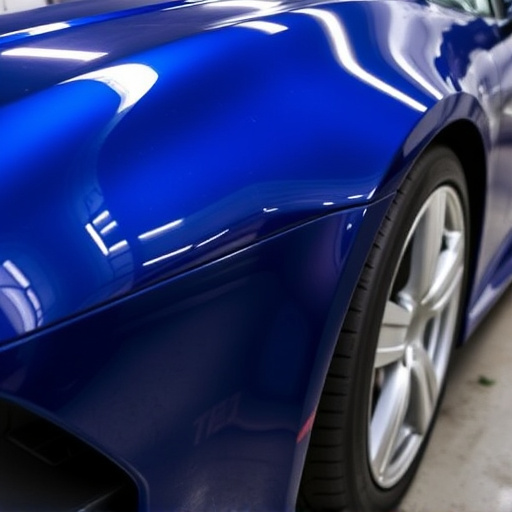
Achieving a smooth, even clear coat finish requires proper technique and attention to detail. One common mistake is applying the coat too thick, which can lead to an uneven surface and prolonged drying times. For optimal results, use a thin, consistent layer. This ensures the clear coat adheres well to the base paint and prevents bubbles or streaks.
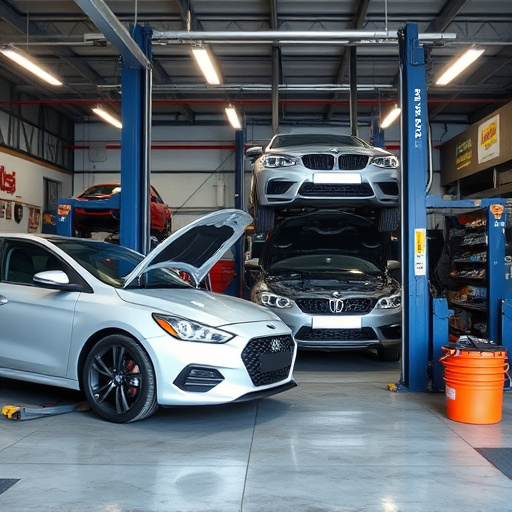
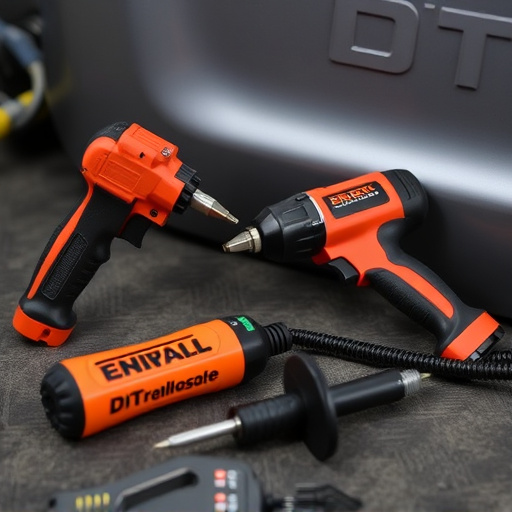
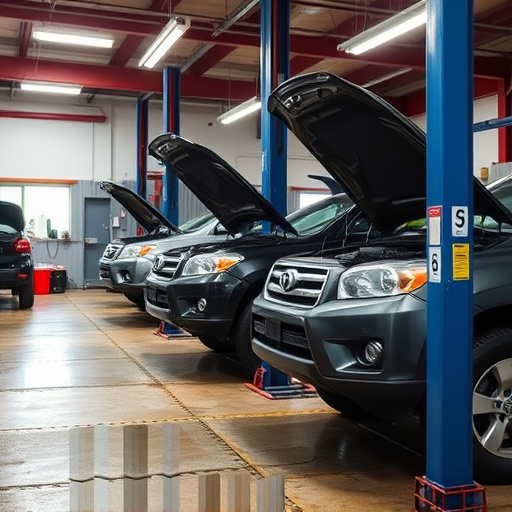
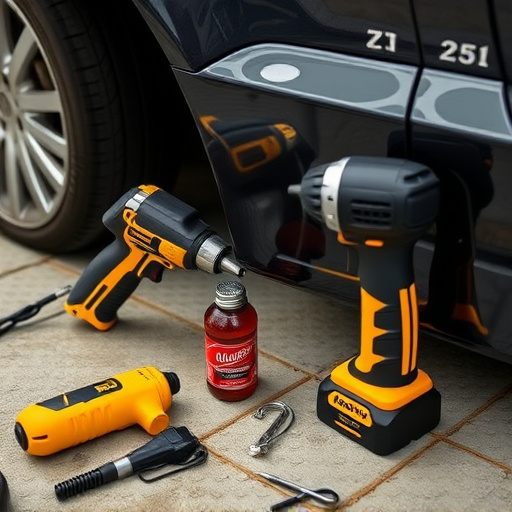
The application process should be methodical, using a dedicated clear coat spray gun with adjustable settings for control. Maintain a steady distance from the surface while moving in smooth, even passes. For large projects like fleet repair services, consider using a booth to ensure consistent coverage without overspray, making it easier to achieve a flawless finish and minimizing the risk of scratches.
Allow Adequate Drying Time to Prevent Coating Failures
When applying a clear coat, one common mistake to avoid is rushing the drying process. Adequate drying time allows the clear coat to cure properly, ensuring a durable and smooth finish. Skipping this step can lead to premature coating failures, including peeling, chipping, or blistering. Remember, patience during the drying phase will pay off in the long run, as it ensures your auto body work, whether it’s a simple fender repair or more intricate dent removal, is done right.
Allowing sufficient time for the clear coat to set correctly also prevents issues like poor adhesion and unsightly bubbles. This is particularly crucial when considering the role of auto glass replacement in maintaining an even and professional finish. Always follow the manufacturer’s guidelines for drying times and ensure proper ventilation during application to achieve the best results.
When it comes to achieving a flawless finish with clear coat application, attention to detail is key. By properly preparing your surface, employing consistent techniques, and allowing sufficient drying time, you can significantly reduce common mistakes and ensure a durable, high-quality coating. Remember, taking the time to follow these guidelines will pay off in the long run, resulting in a stunning and long-lasting finish for any DIY or professional project.